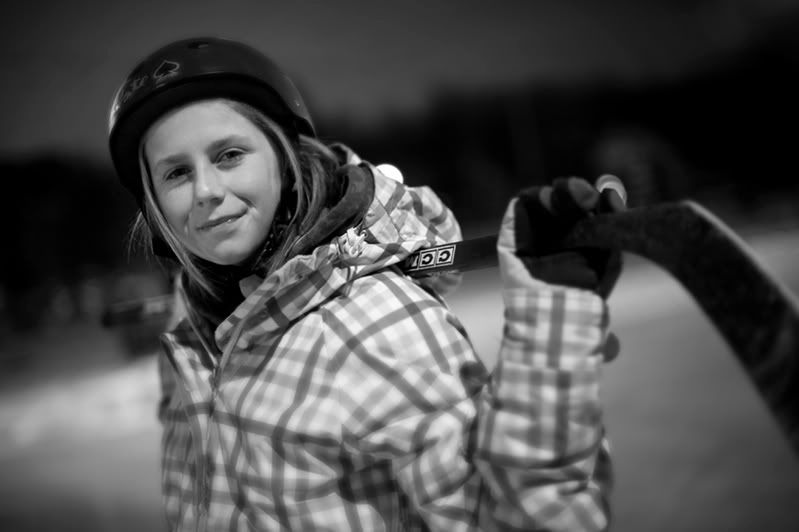
Just a quick post tonight before i hit the hay.
We did a little skating tonight and i just so happened to have my camera in the car. This was shot with natural light which was provided by some very dim street lights around the outdoor rink. I shot at 1600asa and used a 50mm lens set to 1.4 with a shutter speed of 1/20sec.
I opened the image in camera raw and adjusted it mainly for the jacket and background which made the face and sky go too dark. I hit open and then went back to bridge again and reopened the image in camera raw. This time i adjusted for the face and sky and hit open again. I drug the light version on top of the dark version and then applied a layer mask to blend the two exposures together how i wanted them. Do this slowly with like a 40% opacity on the brush.
I then flattened and duplicated the background layer.
From here i am going to direct you to the internet for the tutorial that i used for the blurring effect.
http://www.recedinghairline.co.uk/tutorials/fakemodel/
After i had the blur the way i wanted it i added a layer mask to the top layer and painted over the face and collar a bit to make sure the sharp image from below was showing through. I flattened the file again and sharpened it. I then went to filter - distort - lens correction and added a vignette.
One more note, i converted to black and white in camera raw at the first.
I applied a curve as a last step to bring up the whites a bit.
My next post will be using the technique i posted the link for above to make an image look like a fake model.
No comments:
Post a Comment