Tuesday, January 15, 2008

shoot for the dogs

dogs
This is not really a photoshop tip post but instead an insight into a shoot post.
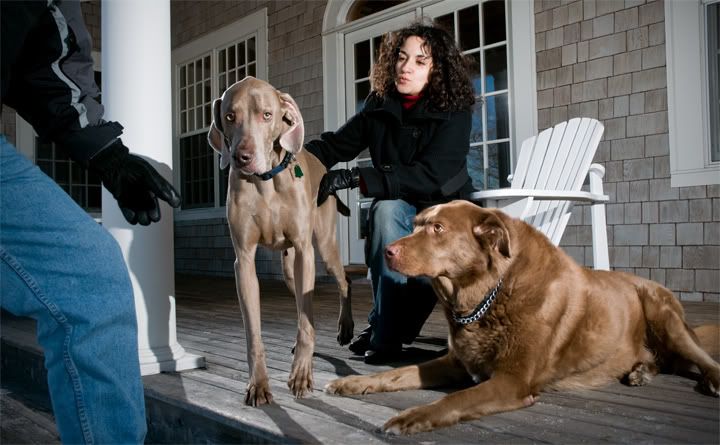
I was asked to photograph this girl with her two dogs. Simple enough. Start early in the morning so the light is low, get them walking towards me, sun to the left at 45 degrees and take lots of photos with a long lens and shallow depth of field. Recipe for success in most cases. We met and started shooting on a long walking bridge but the side rails cast some pretty severe shadows and although she was perfectly lit the dogs were in shadow. The wind was very strong also and it was wreaking havoc on her hair. Next recipe please.
Time to head to a cool building with a very nice deck and large white wooden chairs. Throw in a couple nikon sb flash unit, like any strobist would, one to the back left for rim light and one to the front right (at about 45 degrees or more) for main light. I own two pocket wizards so i put one on the camera, one on the main light, and put a wein slave on the back light. I then crossed my fingers and hoped it wasn't too bright out for the wein. It worked, yea hoo. I placed my human subject in the chair and then it was time to bring in the dogs. Funny thing was that the dogs really didn't want to be there. They wanted to instead run and play. We must have brought them back under my light setup 20 times and they would last about two frames and that was it, time to roam.
Luckily i inherited a tremendous amount of patience from my father so i could have shot like this all day. I knew it was time for the shoot to end however when mild frostbite set into my fingers.
I did end up shooting about 100 frames but this was my favourite. I think its because it shows a little bit of our struggle.
When the dogs were leaving i could have sworn that i saw one give the other a high five and wink.
Thursday, January 10, 2008

Black and white with blur

Photobucket
I was playing in lightroom tonight and had a chance to take a second look at some images i shot recently.
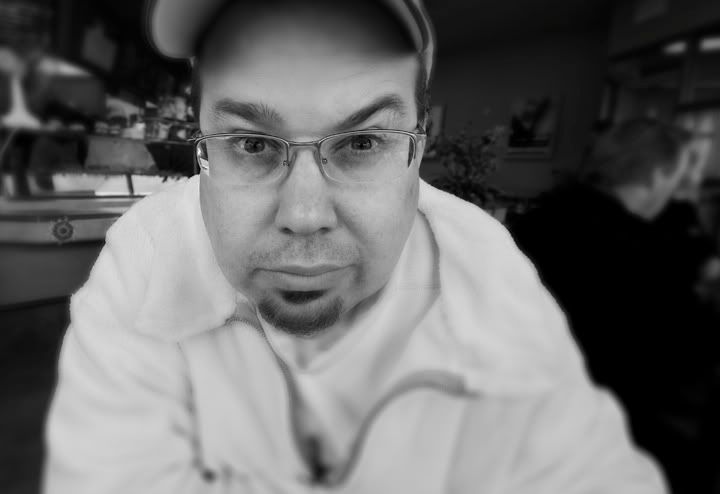
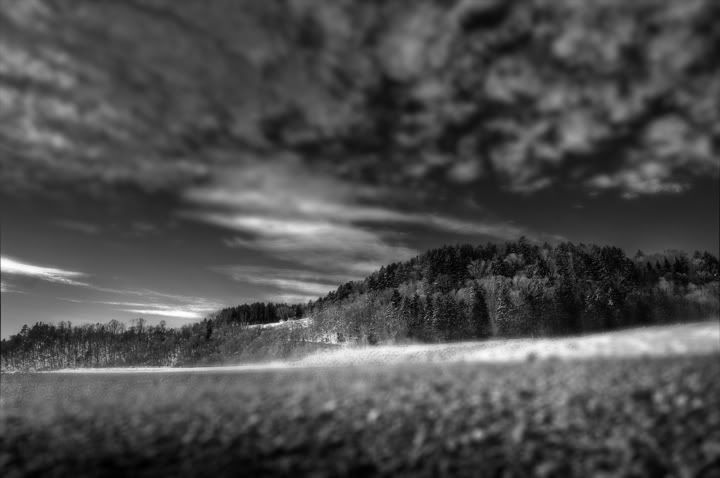
I was playing with a landscape photo and trying a couple different things (i will post it at the bottom) and thought i would try the effect i came up with on a face. I think i like it better on a landscape but anyway here it is.
First off i opened a color photo of gord and converted it to black and white by going to image - adjustments - black and white.
In the panel that opens i played a bit with the sliders to try to make the image look a bit infared. I moved the red slider to the right and the blue to the left a bit.
I then wanted to blur most everything except his eyes and what was along the horizontal path of his eyes. I duplicated the background layer and clicked on the eye icon to the left of this new copied layer to hide it. On the background layer i then went to filter - blur - lens blur and cranked the radius up to about 55. Quite blurry. I clicked on the top layers eye again to show it and then added a layer mask to that top layer. I selected the gradient tool and used the celindrical shape in the options palatte (4th icon over). I made sure my forground color was black and background white and then clicked at his eye level and dragged the mouse to about his chin. I played with this a bit till i got it right. I then chose my paint brush and painted a bit in black to the left and right of the face on the background.
I smart sharpened and did a slight curve to increase contrast and was done.
Photobucket

Wednesday, January 09, 2008

zamboni

Photobucket
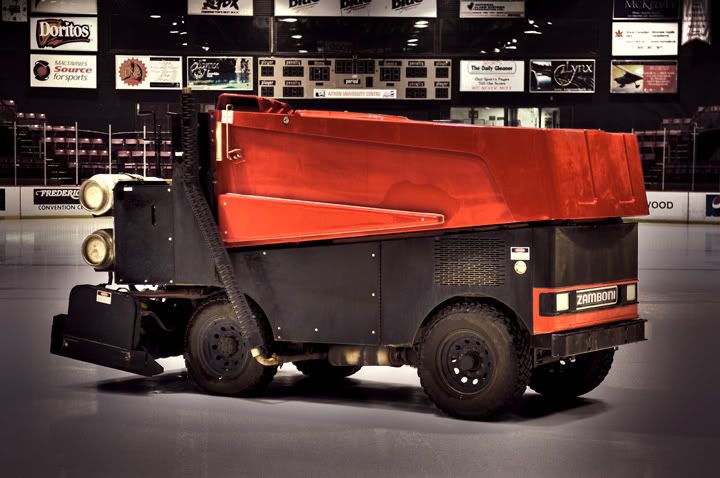
I was asked to take a shot of this zamboni to be put on a certificate to "win a ride on a zamboni at a hockey game".
I certainly could have taken a very standard, boring shot of the thing and they would have been more than happy.
As i already mentioned however, that would be very boring.
Time to have some fun.
I bracketed over a 7 stop range and picked out a very dark exposure, an average exposure, and a very light exposure.
I processed these three images in photomatix (I know, I know. Is this photoshop2 or photomatix2) to get a result i liked.
I then opened that image in photoshop and duplicated the background layer. I left the top layer (copy) in color and desaturated the background (lower) layer. I then created a layer mask (icon at the bottom of the layers palatte) on my top layer. I used a soft edged paint brush with black as the foreground color and painted in the mask over the background. That allowed the black and white layer under the color layer to show through. I carefully painted until no more color was on the background, behind the zamboni.
I then wanted to bring some of the color back into the background (just a bit) so it wasn't completely black and white. I duplicated the black and white layer and the color layer each one more time. What i am trying to end up with is: very top layer being color with the mask on it, next layer down is black and white, next layer down is color, and next layer down (background) is black and white. This very bottom, or background, does not matter. We are really not going to see past the layer above it.
What you will need to do now however is drag mask from the lower color layer to the trash. Just click on it and drag to the trash can at the bottom of the layers pallate and hit delete when the box pops up.
You can now lower the opacity on the uppermost black and white layer to your liking. This will allow some color from the color layer under it to show through.
I flattened the image and retouched it. A heavy smart sharpen, a slight curves adjustment and it was done.
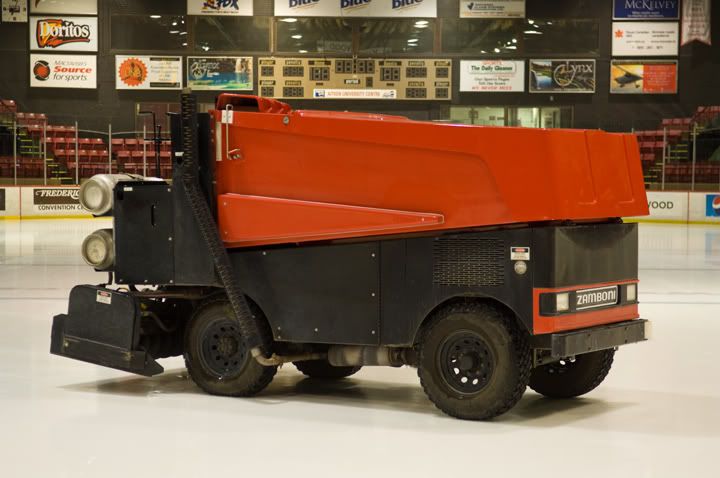
Below is the original.
I will be starting a post tomorrow on how to shoot a team photo and leave a space for someone who is missing and then add him in later. There is alot to this next post so i will do a part of it each day for a week or so.
Stay tuned.
Photobucket

Monday, January 07, 2008

single image in photomatix

Photobucket
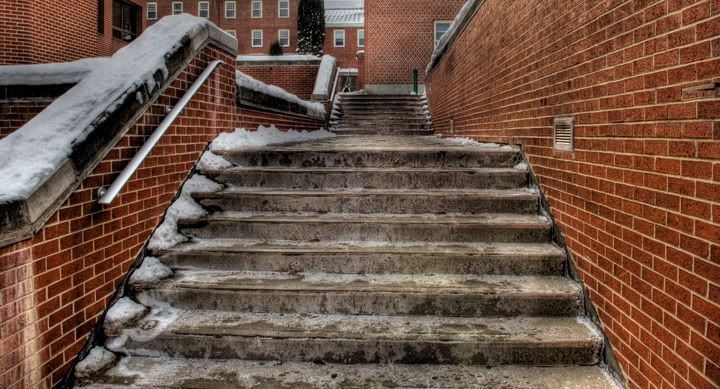
I finally figured out today how to process one image in photomatix pro.
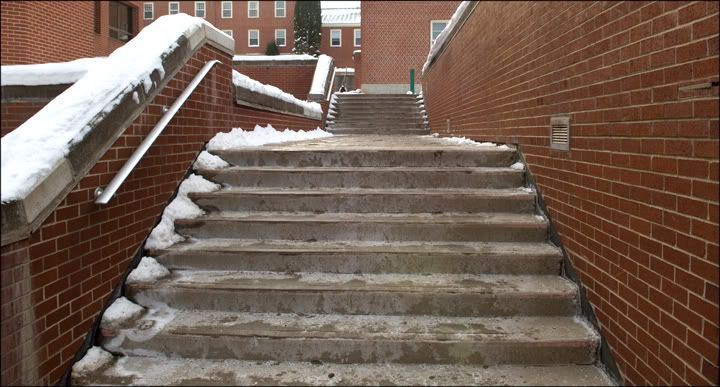
The above photo is the finished result and the original image is below.
I love what it does to brick and concrete but really dont like what it does to snow.
I also tried this technique on a family studio portrait and it was amazing how much detail it brought out.
Technique:
- I placed one jpeg into a folder on my desktop.
- In photomatix go to Automate - batch processing.
- Make sure the two boxes (generate hdr image and process with details enhancer) are checked.
- Make sure that ALL is selected in the box in front of "images at a time".
- In location - choose navigate to your folder with the one image in it.
- Hit run.
- It will tell you when its all done.
- Go to your folder that you chose and inside of it will be a new folder called results.
- Open that and drag the hdr image file onto photomatix to open it. (or of course go into photomatix and navigate to that file and hit open).
- Next in photomatix go to HDR - tone mapping.
- You are now ready to play with sliders.
The settings i used for this image are : strength - 100, color saturation - 60, light smoothing - high, luminosity - +7, and the white and black sliders were up quite a bit.
I later sharpened it in photoshop and did a curve to increase the contrast a bit ( i did these same corrections to the original image file below).
Note: you can also play with the settings in the first batch processing window. You will see a settings box just after the details enhancer check box.
Photobucket