Wednesday, November 26, 2008

another multiple image

Photobucket
No i dont do drugs.
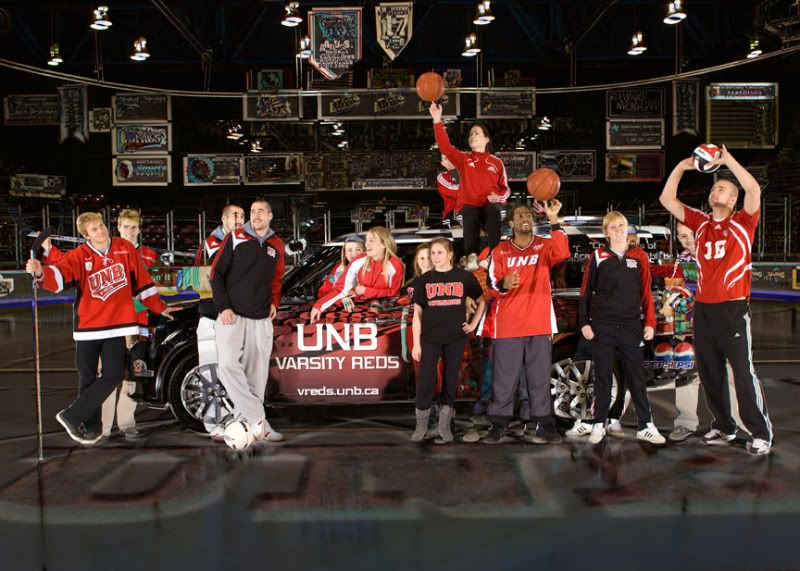
I did this shoot and once opened in photoshop i decided to combine two photos to replace a couple of the people that looked better in another shot. All the same people were in both images but just different poses is all.
I drug one image onto the other while holding down the shift key to center it and then went to the layers palate and highlighted both layers. Then hit edit - auto align layers. This did a pretty good job but i must have zoomed a bit differently in the two shots as it was still off a bit. To try to align it better i highlighted the top layer and in the layers palate chnaged the mode of it to difference. Thats when this look appeared which i thought had potential. I moved the layer around a bit with the move tool to offset it a bit more.
I liked it at this point but you could not really see anyones face. I hid the top layer (clikd on the eye icon) and clicked on the background layer to activate it. I selected one person at a time using the magnetic lasso tool. I cleaned up the selection with just the lasso tool but they were still pretty rough. Once i had one of the people selected i then clicked on the top layer and turned the visibility on (click on the eye icon at the far left) i had added a mask to this layer earlier before i had anything selected so it was just empty with white. So now with the mask in place and one of the people selected i went to edit - fill - and filled with black. This allowed the background image of the person to show through. I repeated this process for all the people in the shot. The mask at the end of all this was white except for the people from the bottom layer which were all in black.
I flattened the image and did a bit of retouching on the background, sharpened, and did a curve to bring up the highlights a bit and add a bit of warmpth by adding a bit of red and yellow. Oh, and i also painted over the van door in black on the mask before i flattened to show the text clearly.
This image was purely the result of an accident, mode change to difference for another reason altogether, but i think turned out cool in the end.
The client of course chose the unaltered version.
Tuesday, November 25, 2008

two photos to make one

Photobucket
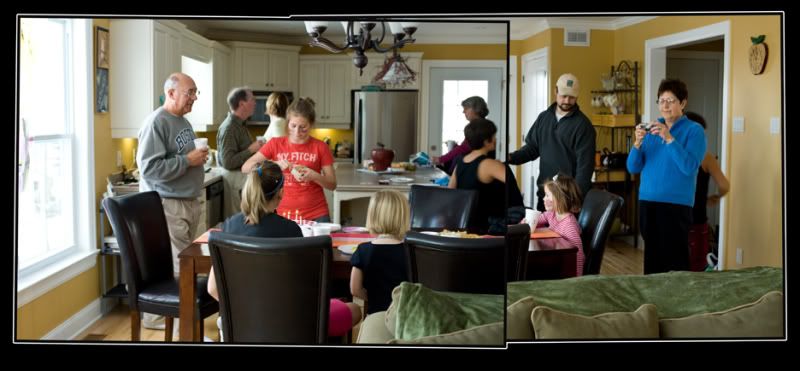
I have been playing around lately with multiple shots of one scene and how to combine them. For this one i took two photos of my kitchen at my birthday party. As you can see i just turned a little left for the first shot and then a little right for the second, which captured the entire width of the room.
I adjusted them in camera raw and then opened both in photoshop. Once they were opened i went into image size to check to see what the dimensions were. I did this so i could make a new canvas which would fit both images once they were placed on it. I made the new canvas with a white background, i made it bigger than i needed it so i could crop down. Using the move tool i drug both images onto the new canvas and moved them where i wanted them. My layers pallate now had the background and the two seperate layers above it. Next i wanted to rotate each image a bit. I went to edit - transform - rotate and twisted the top layer a bit and then did the same to the middle layer.
To make the images stand out a bit more on their own i created a stroke on each (two actually). To do this i first highlighted the top layer and then selected its contents by holding down the ctrl key and clicking with my mouse right on the layers thumbnail in the layers pallate. Once the selection was made i went to edit - stroke and chose "inside", Black, and i think 3opx size, then hit ok. I then went back to edit - stroke and this time chose "outside", white, and 15px size. I did this for each layer.
To clean up the strokes a bit and remove the white where i did not want it i used masks. I wont get into this as it may get a bit confusing. The short explanation is: duplicate both layers again, place mask, select white stroke you dont want with magic wand, paint in black in mask.
I have taken some more images to play with but have lots in the cue to get up on my blog so they will be showing up soon.
I have a nice night shot to post tomorrow.

Sunday, November 23, 2008

birthday party

Photobucket
This photo was taken today at my birthday party.
I decided to have a hanna montana themed party and invite family and friends. Of course the theme was for the kids.
I shot this with natural light, i wanted the backlight to blow out, with a 50mm lens and a 1.4 aperature at 500asa.
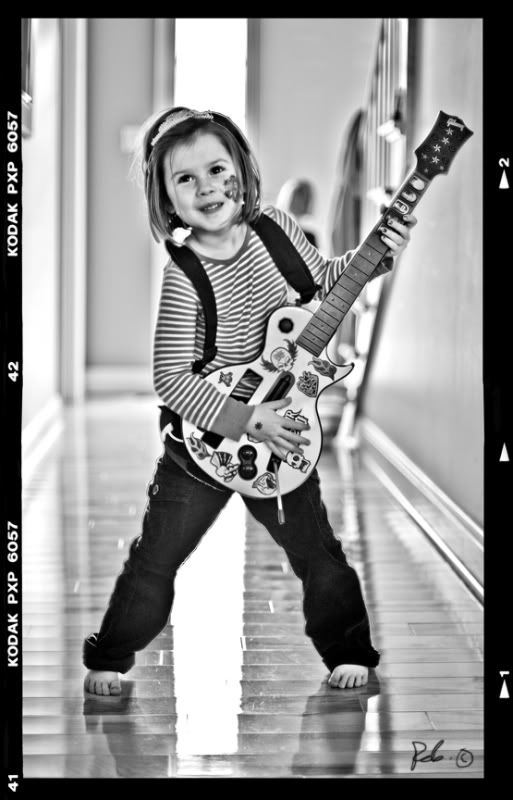
I opened it in camera raw and moved my favourite 5 sliders to the far right. I then had to bring the black way up to make it look good. I opened the photo and then did a curve and a little retouching. I opened my negative frame that i had scanned awhile ago and drug it onto my rock and roll photo. I duplicated my background layer (rock) and filled the background with white (just so it was blank and i could see what i was doing). This left me with the negative frame on top, my rock and roll photo in the middle, and blank white as the background layer. The negative was quite a bit smaller than the photo so i highlighted the middle layer (rock) and went to edit - transform - scale. While holding the shift key i brought in the corners until it fit in the frame.
I then just modified the frame by removing a horizontal black line and adding two others, one on top and bottom.
I cropped and sharpened.

Monday, November 17, 2008

night photography

Photobucket
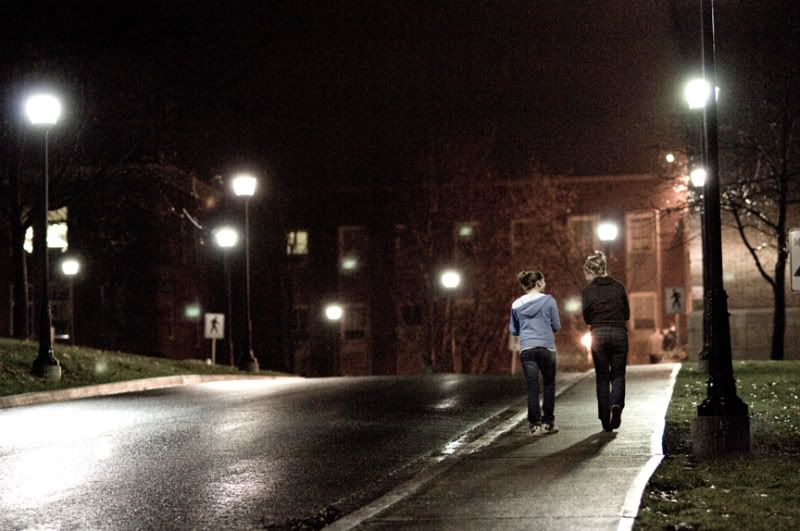
I have wanted to do some night photography for a very long time. Once i get home and all comfortable though it is incredibly hard to grab my camera, bundle up, and head out to shoot. I was shooting a volleyball game the other night however and had the camera around my neck so i had to take a few shots on the way back to the car. My daughter and her friend were walking ahead of me and i was shooting away.
I dont really know if there is anything to learn from this shot other than dont shoot at high iso with the nikon d2x. It was set at its highest iso (hi2) which i think is the equivilant of 3200. The grain is awful, and i really mean awfull.
All i really did to this image was reduce the saturation in camera raw to about -58.
I did a curve once i had it opened in photoshop and that was it.
I will make my next post a touch more informative.

Wednesday, November 12, 2008

one channel

Photobucket
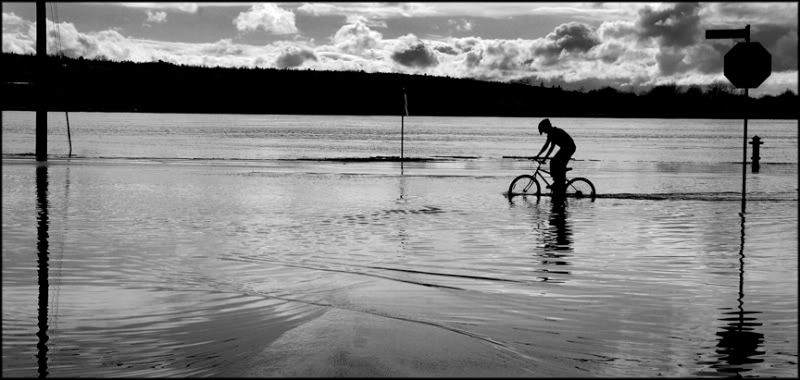
This is another image i found the other night on an archived disk of mine. I liked the image but am still not sure what i think about the tone in it. I made it fairly cool and i am not sure what else i would do with it.
The reason i am posting this one is to talk about black and white conversion using only one channel.
I looked through the channels to see what one looked the best, i was actually looking for sky information to strip into the color image. When i hit the red channel it looked great. So good in fact that i then decided to make the image black and white.
So to start i selected my entire image and hit edit - copy. I then made a new image (file - new). Now because i had my other image copied, when i made a new image it automatically sized itself to the exact dimensions of my coppied file. I then went to my color image and into the channels pallate. There i clicked on the red channel. I drug my color image, now showing only the red channel, into my new file (remember to hold the shift key down).
This gave me a blank background with the red channel in a layer on top (layer 1).
I burned the sky down a fair bit and thats it.

Tuesday, November 11, 2008

Rememberance Day

Photobucket
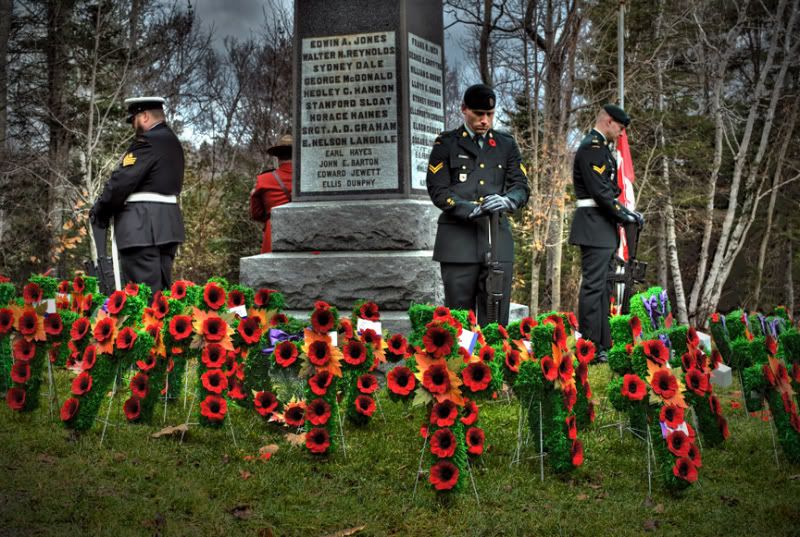
My son was in a parade for rememberance day today so of course i had to bring my camera along. I did some shots, unofficially, of some of the ceremony as well as my son. I made a point to try some different compositions and angles since the shots were just for me. An exercise in seeing i guess is what i had in mind.
This shot was at the end when most of the crowd had left and all the poppies had been laid. I took 7 shots bracketed 1 stop apart for use later in hdr. I ran three of the jpegs through photomatix to apply the affect i wanted on the image. I then did some dodging and burning and applied a vignette.
I have another image which i would say is different for me that i will post soon.

Monday, November 10, 2008

food comp.

Photobucket
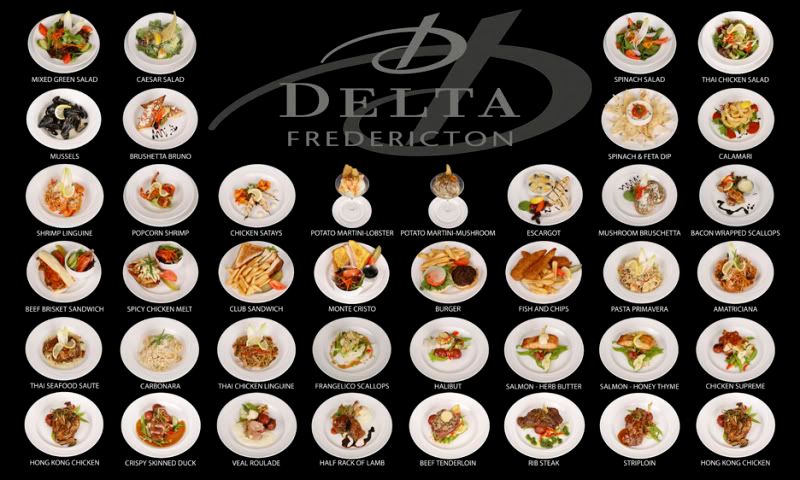
I am spending a couple hours tonight going through some old disks and i am having quite a chuckle looking back at some old photos. I am enjoying the family shots the best by far but have also forgot about alot of commercial work i have done in the past. After awhile it all blends together into a haze.
This shot is a comp i shot and laid out in 2005. A local hotel wanted photos, kind of like polaroids they said, taken of every dish they made and then posted on a board in the kitchen so the wait staff could double check to see if all the right stuff was on it before it went to the customer. I coulden't just give them a bunch of 4x6 prints to stick on a wall so i surprised them and came up with this.
Each plate was shot on a black table cloth which i draped behind and under the plate. The dishes were coming fast and furious so i really did not have any time to do anything fancy. I set up two lights bounced into umbrellas and a tripod so each would be about the same size in the end. I opened each photo in photoshop and selected the plate. I created a new image sized quite large, with a black background, and set up a grid system based on the number of dishes i had to place into the final image (drag guides out from the rulers). I then just drug each dish onto this new image and placed it in the center of the square i made with the grid lines. I dropped in their logo and lowered the opacity on it and then placed the name of each dish under them. I had many layers in the end.
I ended up making a very large print which they mounted to a board and hung over the line in the kitchen.

Sunday, November 09, 2008

play time

Photobucket
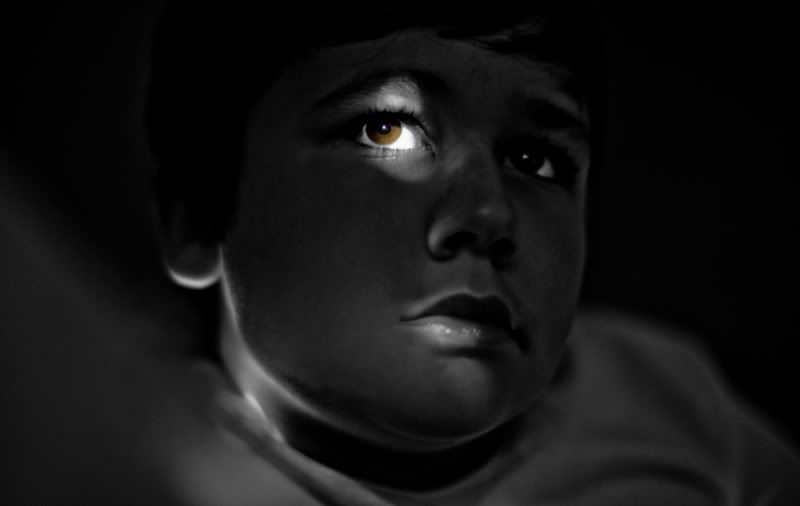
It has been a very busy time for me again in the past few weeks and thus i have had to slow my blog posts to a slow crawl. I was watching a movie with my son this morning however and the light was coming in through his blind in spots and hitting his face. I quick trip downstairs to grab my camera and a 50mm 1.4 lens and a minute later i had my shot.
I opened the image in photoshop and did the funky look by taking my recovery, fill light, clarity, contrast, and vibrance sliders to 100. I took the saturation to 0 and then adjusted the black and exposure sliders to get the look i wanted. I did some retouching to get rid of some of the other splotches of light on his face using the healing and clone tools. I sharpened and saved and then thought of leaving the eye in color. I opened the original raw file and reset the sliders to their default position. I opened the image and drug this new color image onto the black and white one i had opened. Make sure to hold down the shift key to have it lined up right. I then applied a layer mask and filled it with black. I painted in white over the eye to leave it showing in color (top layer).

Monday, November 03, 2008

halloween composite

Photobucket
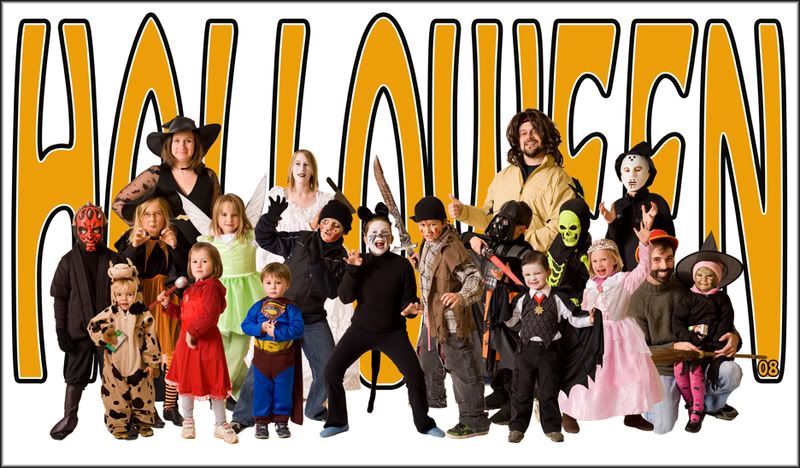
Halloween is over and my belly is now full of candy.
At the last minute this year i decided to set up a white backdrop and one light bounced into an umbrella and photograph the kids on my street as they happened along. I tried hard to get them to do a scary pose but if it wasn't happening i didn't push it. The most important goal of the evening for them was to get lots of junk, not to pose for photos. I took two or three at most shots of each and then they hit the street running for the next door.
I opened the images in photoshop and selected the person using pretty well all the selection tools available to me. These being lasso, magic wand, and quick mask. Once i had the white background selected i went to select - inverse and then hit the refine edge button at the top of the screen (remember that one of your selection tools has to be highlighted for this button to show up). I did not feather or smooth the edge but just contracted it while viewing on black until i could see no white edge. I saved the selection (select - save selection) in case i wanted to use it again later and then drug each into a new image i created that would be big enough to fit them all into. I placed them into a spot i thought they might fit as i placed each one on the canvas. For some i had to use transform scale to size them properly. I also had to apply a layer mask on some if there was still white around the edge. You also may have to rearrange your layers top to bottom to wedge someone either behind or in front of someone else.
Tip: When you have a pile of layers and you need to highlight one in order to move it just make sure the move tool is active and then ctrl click on the person in the big photo and their layer will be highlighted.
Once i had all the people done i placed some text just above the blank white background layer and transformed the scale to fill the screen with it. I flattened the file and sharpened it.
Now I cant wait until next year to do it all over again.