Saturday, April 25, 2009

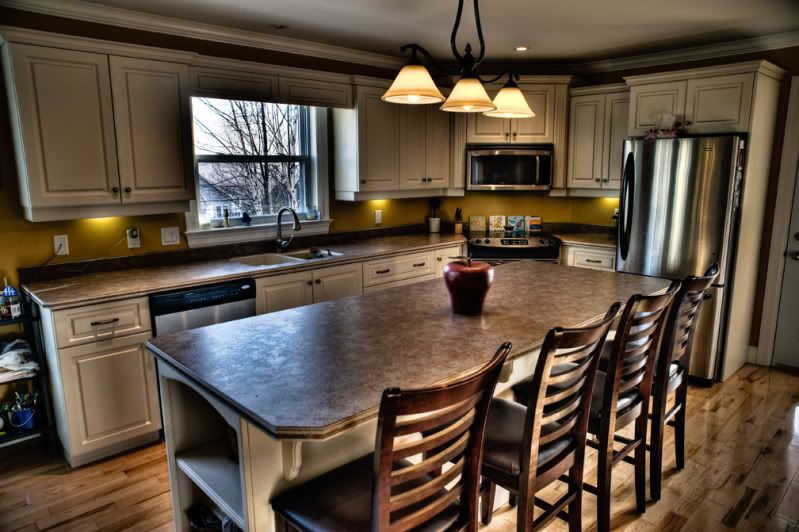
hdr kitchen plus contrast

Photobucket
I didn't expect to do another post this soon but as i mentioned last night, i am in the mood to shoot.
I did a nine frame bracket of the kitchen this morning. It was sunny outside and dark in the kitchen so the difference in brightness range was pretty good. I chose the 5 images in lightroom and exported them to photomatix. I saved it in photomatix and then opened in photoshop. I wanted to first of all do a curve to bring up the brightness a bit. This made the chairs in the foreground a bit too bright but that was ok. Remember that everytime you do a layer adjustment (puts it on its own layer) it comes with its own mask, built right in. I used a nice big brush and painted in black, 30% opacity, over the foreground until it darkened down a bit.
Now that i had that looking alright i flattened my file and duplicated my background layer, drag the layer down onto the new layer button at bottom of layers palate. I went under adjustments - desaturate, to convert to black and white. I then did a curve, not on its own layer, and increased the contrast by moving the white and black points in quite a bit. Looked very high contrast. I then changed the blend mode for this layer to luminosity and lowered the layers opacity to 50% (just go to where it looks right). I flattened once more and then once again duplicated the background layer (some people like to keep all their layers but i tend to try and keep it simple). Then went under filter - distort - lens correction and added a vignette to darken up the edges a bit.
I sharpened the file and thats about it.
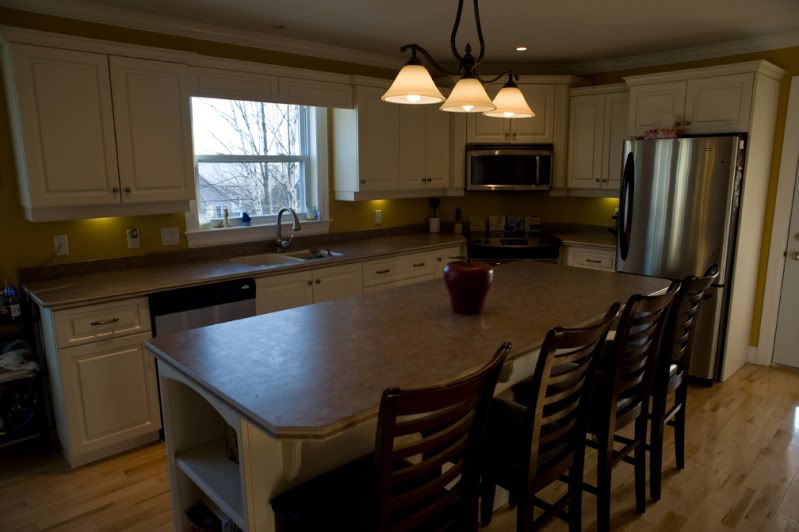
What i noticed after adding the black and white high contrast layer is that the image without it looked soft and cloudy. I would not have noticed before i did it as i had nothing to compare to. This is a good reason to make adjustments on a new layer so you can turn it on and off to see before and after. Of course the ability to turn down the opacity to blend the layers together is invaluable.
see the original below (before photomatix)
Photobucket

Friday, April 24, 2009

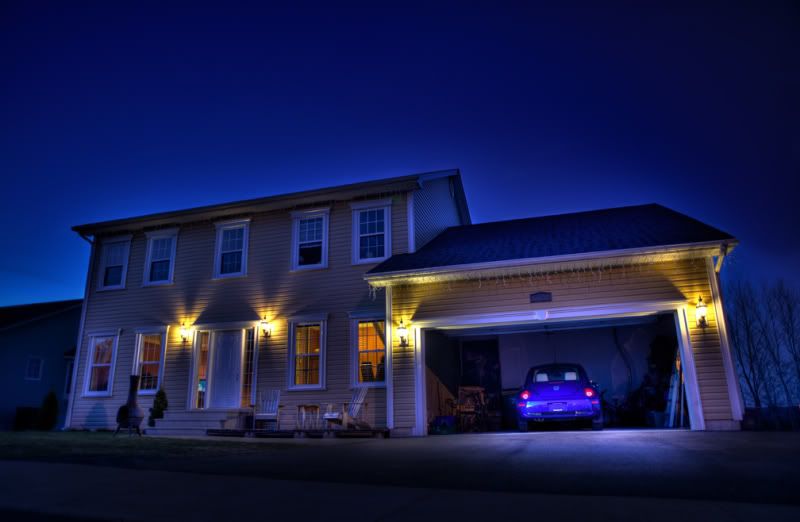
the bug in hdr

Photobucket
I was in the mood to shoot tonight, plain and simple. So what to shoot. Could get out the sb flashes, set up on the lawn with the nice setting sun behind a model, sounds good to me. I have the flashes, sun is in the right spot, just need the model. This is where it gets tricky. My wife has never been interested in posing, even though she is crazy hot, and i think i wore the kids out by the age of 5. Ok, no model tonight.
Hey the house looks good and the bug that we have had for the past two hours dosen't seem to be complaining. Recipe for a shoot i figure.
I put the camera on a tripod, as my longest exposure was 3 seconds (i can hold em slow, but not that slow) and bracketed over a 9 stop range. I imported the images into lightroom and then exported the 5 i choose to photomatix.
Photomatix looked pretty good but the sky wasn't working for me. I saved the photomatix version and opened it in photoshop along with one of the darker exposures where the sky looked good. I dragged the photomatix version on top of the original, while holding down the shift key, and then added a layer mask. I painted on the mask in black at about 30% opacity. I took the sky pretty well to 100% as i went over it multiple times at the 30%. I also painted in the foreground to darken that up. I painted around the light spot in the driveway to create a nice little patch of highlight behind the car. I retouched a couple flaws, sharpened and cropped a bit.
Now the question is who will be my model tomorrow night? I actually know already as i have a shoot booked, with about 200 or more people at 2am. Stay tuned.

Thursday, April 23, 2009

lightroom to photomatix

Photobucket
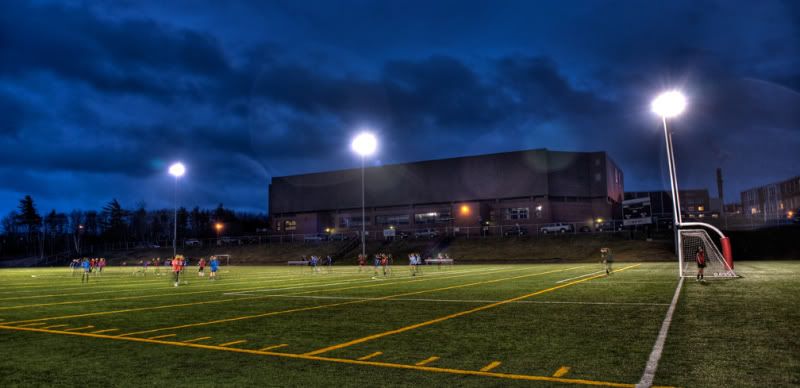
I realize that there are many problems with this image but thats ok for tonight.
It was very cold and rainy and my tripod was in the car which was almost 30 feet away. The distance seemed like miles at the time and i knew that i would have to just shoot and ask questions later. I held my breath and waited 10sec for the steam to clear in front of me. The image was appearing, it was almost ready. I slowly closed one eye and held the camera ever so steady.
Ok, i will stop now.
I had mentioned I have been wanting to do some more hdr shots and i just happened to have my camera in the car with me tonight while my daughter was at soccer. I downloaded the images in lightroom and then chose the 5 i wanted to run through photomatix. I selected these 5 and then went to file - plug in extras - export to photomatix.
They all went in and my hdr image was generated. Very slick. I then used tonemapping and saved the file as a 16bit tiff. One thing i did not do was to hit reduce ghosting when i generated, mistake.
I opened the tonemapped tiff in photoshop and did just a little retouching, a curve for contrast, sharpened, and did a saturation boost. I cropped a bit of the top and bottom off and was done.
Now i want to do some more.

Tuesday, April 21, 2009

more biking

Photobucket
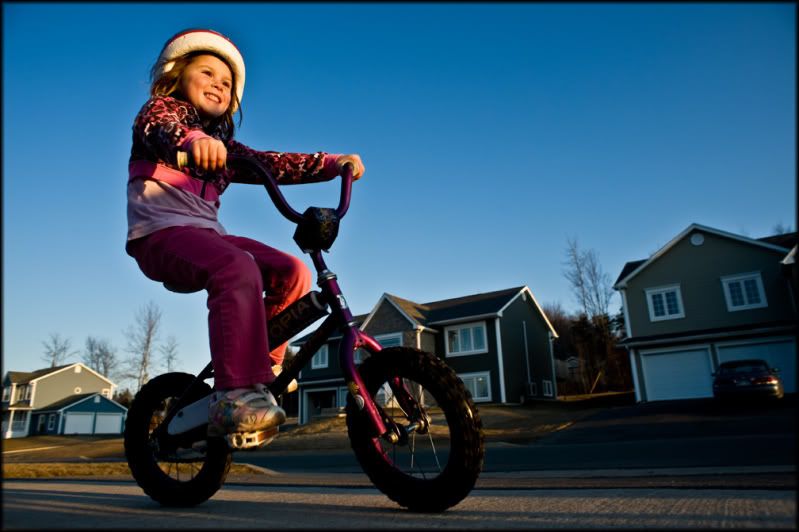
I haven't had a chance lately to get out and do some shooting (really in the mood to do some more hdr) so i have been grabbing the camera when someone goes by my front door.
This of course was a beautiful evening at sunset, how could i go wrong. I started by holding the camera down at ground level and trying to track the bikers as they drove by me. I may have got this image from that recipe but not many more as focus was a bit off on some and composition was all over the map. It is more likely that this image came from me laying on the ground so i could see what i was doing. I put my focus on continuous and moved the focus area in the camera over to the top left, where her face would be.
The surprise element in this image was a human gobo. Her dad was standing on the sidewalk and his shadow hit all but her face which to me ended up making the shot better than the ones where she was fully lit.
Hopefully my next post will be a cool hdr image. That means i would get an hour or so to do some shooting.
Oh, one more thing. Notice the difference camera angle makes in this shot compared to my last post. The low angle really changes the feel of the image and the dramatic effect.

Tuesday, April 14, 2009

learning lightroom

Photobucket
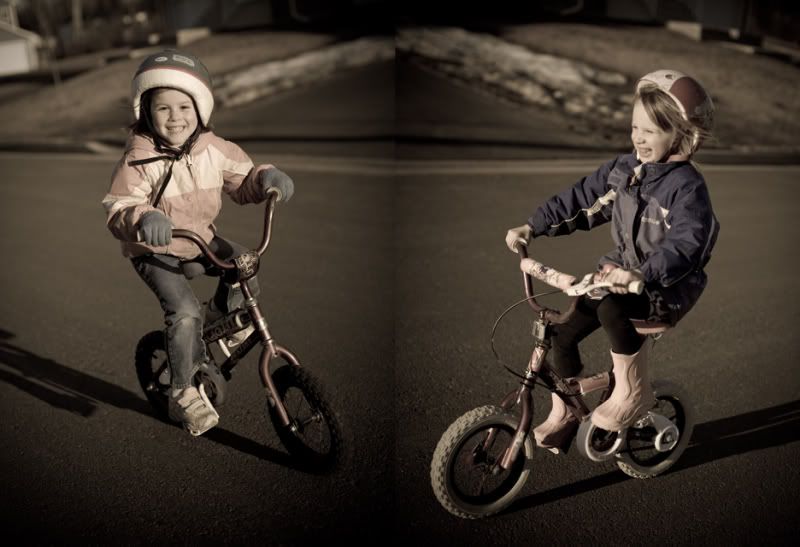
I have been trying to learn lightroom and so far so good. I have a good book and have been just clicking buttons also. I found the presets tonight and thought i would try the creative aged photo on for size.
I shot these images with a 50mm 1.4 lens and set my camera to continuous focus. I ran beside the girls as they biked up the street and shot along the way. I did everything to the photos in lightroom and just combined them in photoshop. I just flipped the right side image horizontal and moved it into place.
I upgraded my photomatix today also and installed the lightroom plug in that comes with it (thanks gord). You no longer have to open the images and save them as a tiff. Just select the images you want to use, raw, and still inside of lightroom just export to photomatix. I love it when things get easier.
So is learning lightroom like learning how to ride a bike???? I think everything is.
If you want to check out gordos blog head to
www.gordophoto.blogspot.com

Friday, April 10, 2009

processing for hdr

Photobucket
In the last post i talked about shooting for hdr and i wanted to follow it up with what to do after that.
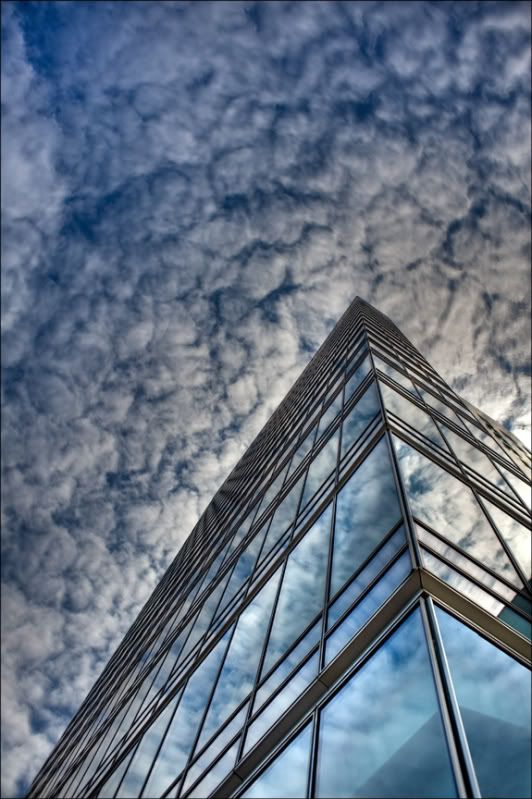
I shot 7 frames of this building all bracketed by 1 stop, unfortunately hand held (remember how i despise tripods).
I chose the normal exposure, darkest, lightest and two in between and converted them to tiffs in photoshop and saved them in a folder on my desktop.
I then opened photomatix and generated an hdr image from the 5 tiffs. I have talked about the photomatix settings in previous posts. Mainly just generate the hdr file and then use tone mapping in photomatix to make it look the way you want it, trying to keep detail in the highlights and shadows.
Save this file as a tiff just like you did with the others.
Now go to bridge and under file "open in camera raw". Tweak the image in the camera raw plugin and open it in photoshop.
From here the sky is the limit as to what you can do with it.

Wednesday, April 01, 2009

shooting for hdr

Photobucket
I recently attended two classes on hdr. One was given by matt kloskowski and the other by ben willmore. Both were different and both were excellent. I have had some pretty good results with hdr but learned that i can make some improvements. I always welcome training as i think everyone of us in this crazy business can improve in all aspects of what we do.
In this post i am going to give some tips for the shooting side of hdr and in the next post i will go over what to do with the images after you have them shot.
Tips:
- Always use a tripod.
It will still work without one but just not as good. For example in the image above i did not use a tripod and it is not sharp. Things are shifted and could be much better. I hate tripods so if i can start using one so can you.
- Choose a scene with a full tonal range.
You can once again start shooting in the midday sun. You are looking for blocked up blacks and blown out whites, and of course everything in between.
- Bracket enough that you get full detail in the shadows and highlights.
You can shoot over a 7 or 9 stop range. Since its digital its free so shoot more than less. When you are shooting, have your cameras drive on high speed so you will get less movement, in clouds for example.
- Bracket using your shutter speed and keep your aperature constant.
I set my camera to auto bracket by 1 stop, shutter speed, using the function button.
- If you have a cable release and mirror lock up, use them.
I dont have a cable release so i just hold my breath. It helps mentally.
- Shoot in raw mode and at the highest bit depth your camera will go.
The d700 for example will shoot in 14 bit. This will give you many, many levels of grey.
- Last but not least shoot at a low iso.
Along with enhancing detail, grain and noise will also be brought to life. Keep it low.
Thats all i can think of for the shooting side of things.
I will go over the computer tips tomorrow.