In the last post i talked about shooting for hdr and i wanted to follow it up with what to do after that.
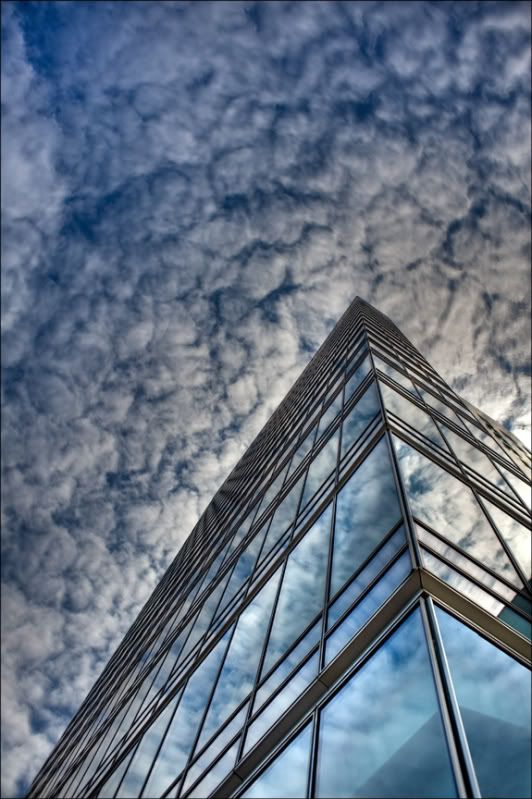
I shot 7 frames of this building all bracketed by 1 stop, unfortunately hand held (remember how i despise tripods).
I chose the normal exposure, darkest, lightest and two in between and converted them to tiffs in photoshop and saved them in a folder on my desktop.
I then opened photomatix and generated an hdr image from the 5 tiffs. I have talked about the photomatix settings in previous posts. Mainly just generate the hdr file and then use tone mapping in photomatix to make it look the way you want it, trying to keep detail in the highlights and shadows.
Save this file as a tiff just like you did with the others.
Now go to bridge and under file "open in camera raw". Tweak the image in the camera raw plugin and open it in photoshop.
From here the sky is the limit as to what you can do with it.
No comments:
Post a Comment