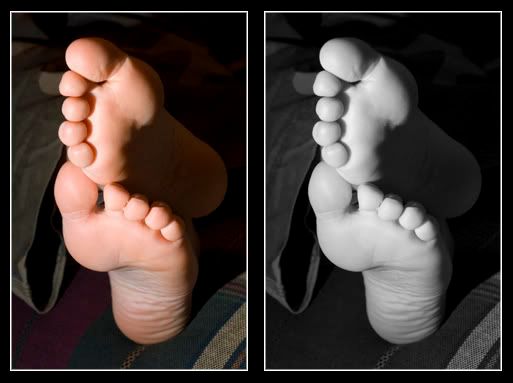
This post really is not about the photo of my sons feet.
It is however about having one photo with two xmp sidecar files.
To do this open your photo in the adobe camera raw plug in box and make what you would like to be your first adjustments. Hit done and the first xmp file will be created. Now reopen this same photo in the raw dialogue box again and make the changes you would like. Now before hitting any of the raw boxes buttons go to the settings menu (small triangle beside settings menu at top right side of box) and go to save settings. It will allow you to name this new xmp file (i just put a letter b behind the file name) and save it to the same folder that your original photo is in. Then hit cancel in the raw dialogue (if you hit done your second settings will overwrite your first ones). You can then open your file and when you want to see your second settings just go to the settings menu and "load settings". Select and open the "b" settings and bingo, they will appear.
So, you ask, why would anyone want two versions of the same photo as a raw file.
A practical use may be if you have a beautiful landscape photo and as you correct it to lighten the land, your sky blows out. No problem, just do a correction for the land and a second correction for the sky and then blend them together.
