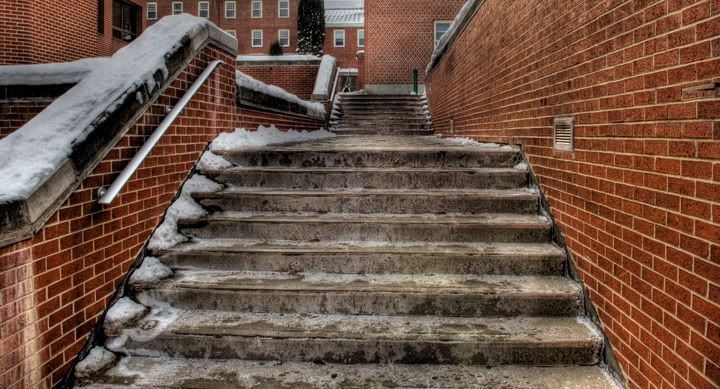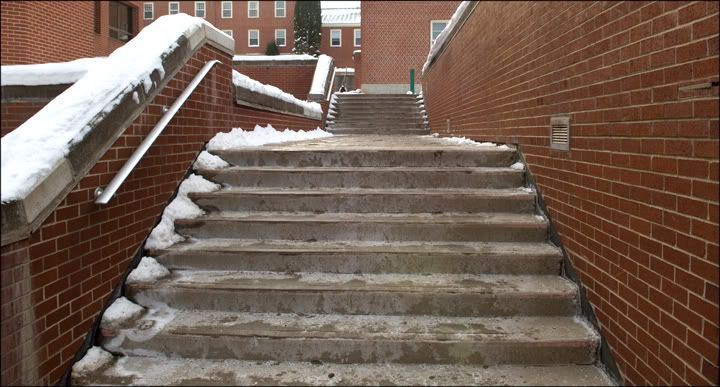
I finally figured out today how to process one image in photomatix pro.
The above photo is the finished result and the original image is below.
I love what it does to brick and concrete but really dont like what it does to snow.
I also tried this technique on a family studio portrait and it was amazing how much detail it brought out.
Technique:
- I placed one jpeg into a folder on my desktop.
- In photomatix go to Automate - batch processing.
- Make sure the two boxes (generate hdr image and process with details enhancer) are checked.
- Make sure that ALL is selected in the box in front of "images at a time".
- In location - choose navigate to your folder with the one image in it.
- Hit run.
- It will tell you when its all done.
- Go to your folder that you chose and inside of it will be a new folder called results.
- Open that and drag the hdr image file onto photomatix to open it. (or of course go into photomatix and navigate to that file and hit open).
- Next in photomatix go to HDR - tone mapping.
- You are now ready to play with sliders.
The settings i used for this image are : strength - 100, color saturation - 60, light smoothing - high, luminosity - +7, and the white and black sliders were up quite a bit.
I later sharpened it in photoshop and did a curve to increase the contrast a bit ( i did these same corrections to the original image file below).
Note: you can also play with the settings in the first batch processing window. You will see a settings box just after the details enhancer check box.

No comments:
Post a Comment