A team photo, but wheres the team???
Just a note before i get started, this could be a long complicated post, you may want to click the back button.
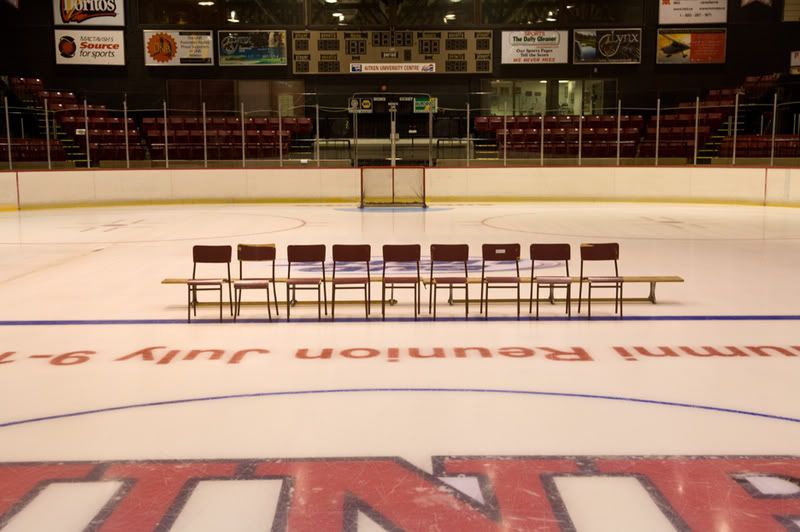
I have done this hockey team photo as long as i can remember. Each year, with digital and photoshop, i change the way i do it just enough to keep it interesting for me. While standing on a chair at center ice waiting to fall i decided to photograph the background scene with no bodies in the shot and no strobes turned on (available light).
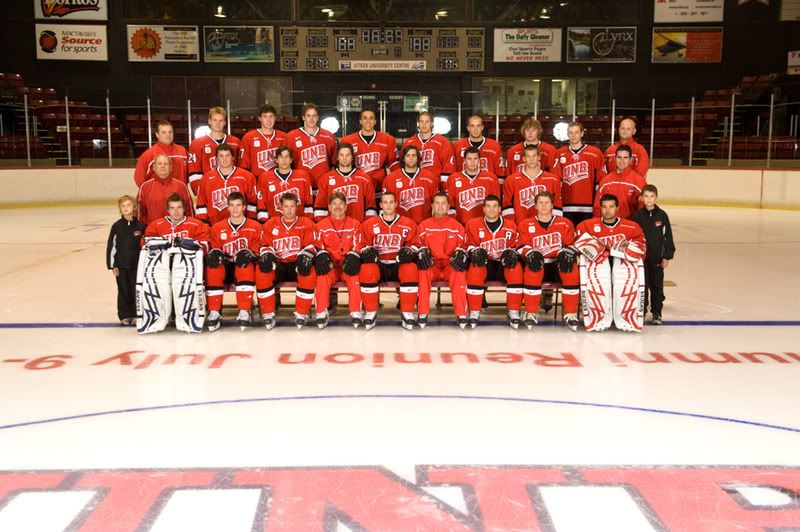
I always have a problem with my strobes showing up in the glass behind them (see next photo) and i have to carefully retouch them out which is a pain. Not this year.

This is the team shot with two strobes bounced into umbrellas, basic copy light really. You can see what it does to the glass behind their heads.
I started by opening the above two photos in camera raw and adjusting the colors and white balance until they looked similar.
I opened the files in photoshop and then placed the team shot on top of the chairs shot by using the move tool and holding the shift key down and dragging it over. I then highlighted both layers and went under edit - auto align layers. I was hand holding the camera and the auto align function works great almost every time. I then added a layer mask to the top layer (team) and using the paint brush painted in black over the background glass (over everything from the top of the boards up). this allowed the underlying layer to show through, hard part was going around their heads but it worked in the end.
After this was done i retouched all the lines and text off the front part of the ice using the clone tool.
If you look closely at the photo above you will notice a player missing on the right side. He was absent so we left a space for him in the exact same spot he stood last year. I did a rough selection on him from the last years photo with the lasso tool and drug him onto the new team. I used the edit - transform - scale function to size him up a bit as i must have been zoomed out more last year. Note to hold down the shift key when you do this as to constrain the proportions.
I then applied a layer mask to his layer and painted in black over everything i didn't want to show (since i did a rough selection). It turned out that his shirt did not come down far enough as there was a head in front of him last year so i had to make a selection of one of the other players jersey (lower part) and drag that over and blend it in to fill the gap.
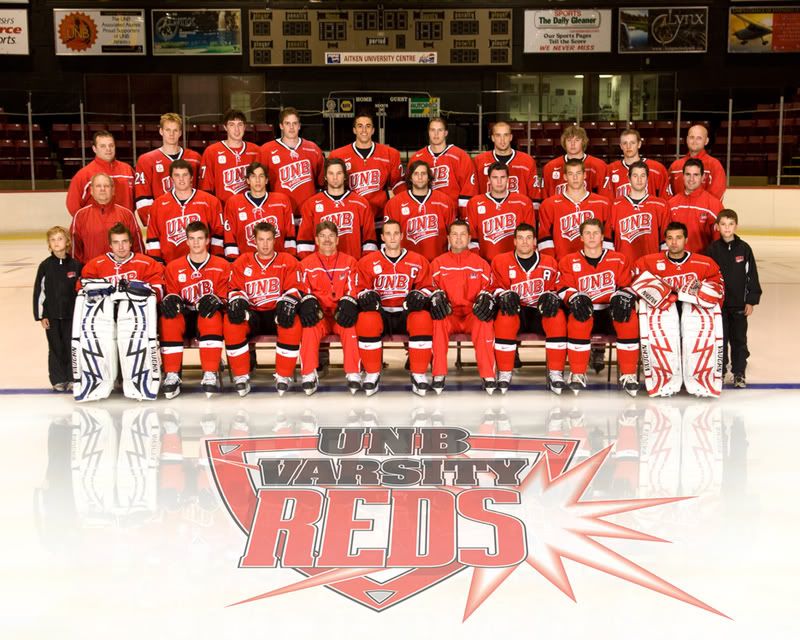
Once he looked good i flattened the file (saved it first of course) and duplicated my background layer. I went under edit - transform - flip vertical and moved the layer down to place it where a reflection would be on the ice. I had to rotate it a bit (edit - transform - rotate) to line it up and then i added yet another layer mask to this layer. I painted over everything above their feet with black on the mask and then went around the bottom edges with a lower opacity on the brush (just to fade the reflection into the ice).
I then drug the logo over from last years photo ( i just squed it and lowered the opacity last year).
I flattened the file and sharpened and cropped and, whew, was done.
All this only took 4 hours.
Below is the final result.

2 comments:
Excellent post.
I would have not foreseen many of the issues you addressed in this.
Thanks for sharing.
Great technique, Rob; and of course, the results speak for themselves!
Post a Comment