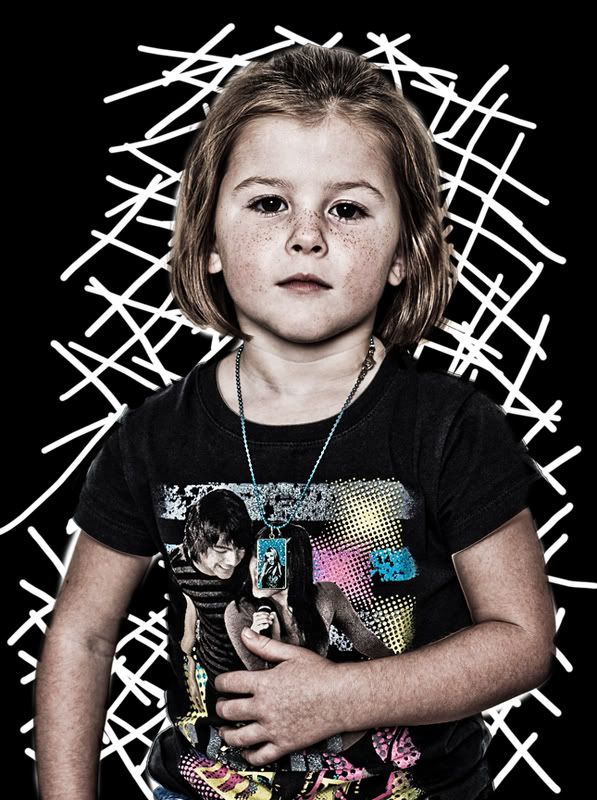
I shot this image tonight for a passport photo.
I thought i would have some fun and was pretty happy with the result.
I used one light bounced into an umbrella that was placed in front of her and aimed straight at her. It was about 6 feet high.
I opened the image in camera raw and used these settings:
temperature 5150, tint -10, exposure +.05, recovery 100, fill light 70, blacks 67, brightness +41, contrast +100, clarity 100, vibrance +100, saturation -88.
After all that i hit open.
I duplicated the background layer and went to filter - other - high pass. Set the amount to 6.4 and hit ok. Change the blend mode in the layers pallate to overlay and then lower the opacity to 66%. Flatten the layers.
Then i smart sharpened at an amount of 50%.
Next duplicate your background layer. Highlight the background layer (bottom layer) and fill with black (edit - fill). Now highlight the top layer (background copy) and in the layers pallate add a layer mask. Fill the mask with black. You will now see a black canvas. Change your forground color to white, select your paint brush in the tool tray and use a fairly small brush. Then make the small brush strokes such as you can see in my image above. Then use a larger brush and paint in white in the mask over your subject so no black strips can be seen on them.
Flatten and do a curve adjustment to up the contrast a bit more and save.
Sorry for rushing through this technique but if you try it you will see that it is very easy.
No comments:
Post a Comment