I need to state right up front that this is not my method. I used one of my photoshop world text books for this and the credit for its development goes to eddy tapp and monty zucker. I felt i needed the effect for this image and wanted to share it with you.
First i opened my image in photoshop and went to image - adjustments - black and white. I placed my curser on the face and left clicked and dragged to the left to lighten the skin. I placed it over the sweater and dragged to the right to darken the sweater. You would have to play a bit with this depending on your image. When i had it looking good in black and white i duplicated my background layer.
Double click on the name of your new layer and call it darken. With this layer active, go to filter - blur - gaussian blur and up the radius to around the size of your file (mine was 25mb so i set it to radius 25). Change the blend mode to darken for this layer and lower the opacity to 30%.
Now duplicate this layer and double click on the name and call it lighten. Raise the opacity to 50% and change the blend mode to lighten. At this point if it looks too soft just redo the image and use a lower radius in the gaussian blur step.
Next hold down the shift key and click on both layers to make them both active. While holding the shift key click on the "new group" icon at the bottom of the layers pallate. Now click on the add layer mask icon at the bottom of the layers pallate.
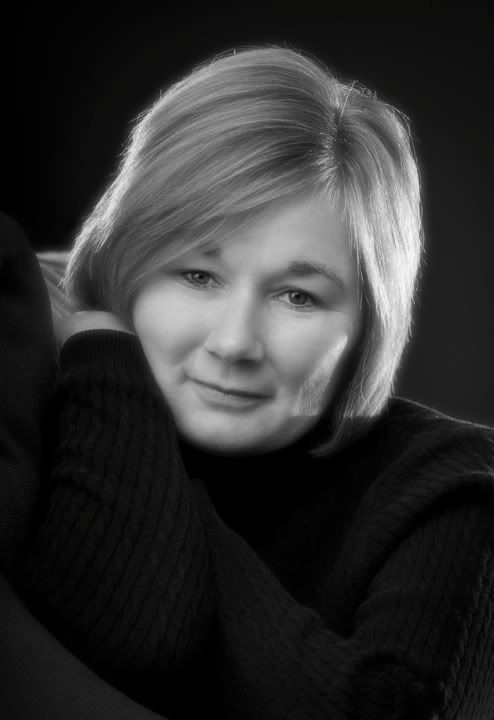
Using a black soft edged brush, paint over the eyes, lips, eyebrows, and nostrils. I used an opacity of 50% to paint with. I did all these parts once and then did the eyes and lips one more time still painting at 50%. I tried the hair also but did not like it sharp on this image.
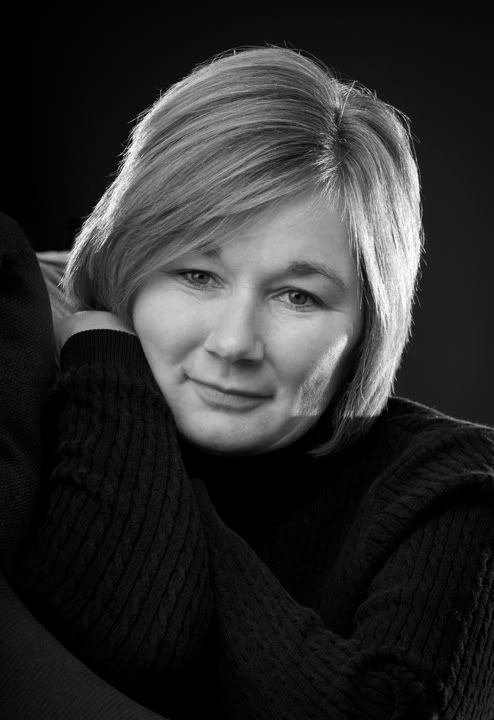
The original file is below.
As a side note: I was quite happy with the light on this image. I used two strobes bounced into very large umbrellas that were placed one directly over top of the other. This essentially gave me an umbrella which went from ceiling to floor. With using two lights i could vary the power from top and bottom. I placed these as close to her as i could, just out of camera frame. I used two sb24 flashes for the rim light. One was behind her to the left and one to the right.
No comments:
Post a Comment