As i promised a week ago, i am going to give a tutorial on photomatix pro.
If you are new to this software you can see some examples on flickr
(http://www.flickr.com/groups/hdr/pool/).
You can download a free fully functional copy of photomatix pro at
http://www.hdrsoft.com/
the only catch is that a watermark is applied. I would highly advise buying it from them as it is only $99 and you get 60% off if you are a student, teacher, or anyone associated with a school.
So how does it work.
It is a program that merges or blends together multiple exposures to give you a hdr (high dynamic range) photo. This means that you are able to see details in the shadows and highlights which may not be visable in a standard photo.
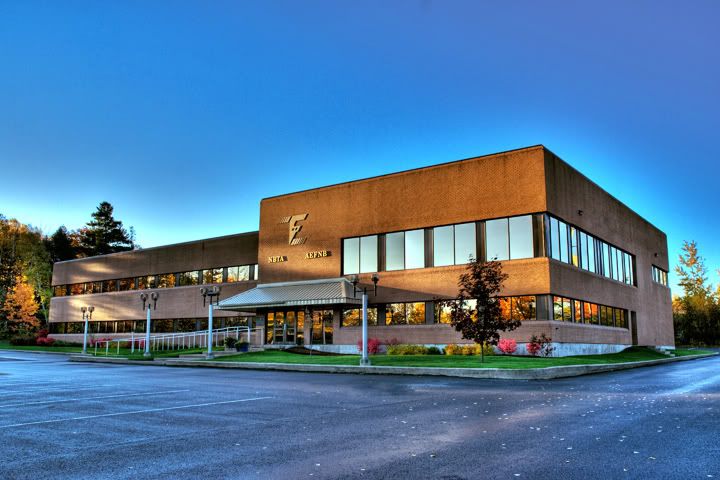
You can make the image look normal or go a little funky like i did to the building shot up top.
First start by using a tripod and bracketing your scene going from almost white to almost black. I usually take about 10 shots of a scene to then pick out 3 to merge together. Next open the images and save them as tiffs or jpegs (i used jpegs).
Put the three images in a folder that you can navigate to in photomatix.
Now open photomatix.
Close down the windows that pop open and go up to the "HDR" menu and down to generate. Hit browse and find the folder where your 3 differently exposed images are. Highlight all three and hit select. When the generate hdr window comes up hit ok.
A generate hdr options box will come up and check the "align source images" box. Also make sure the take tone curve of color profile (reccommended) box is checked and hit ok.
After it does all the work an image will appear and should look pretty bad. Thats ok.
Now go up to the HDR menu again and down to tone mapping. This is where you make your image decisions.
In the box that pops up just play around with the settings. I put the strength up to around 80 or more, the color saturation up, clicked the third or fourth light smoothing box (cant remember, sorry),and adjusted the white and black points to taste.
Hit apply and your done.
Once you do this a few times you will start thinking about images that would look good with this effect. You will also start carrying a tripod with you, which is something i never did.
No comments:
Post a Comment