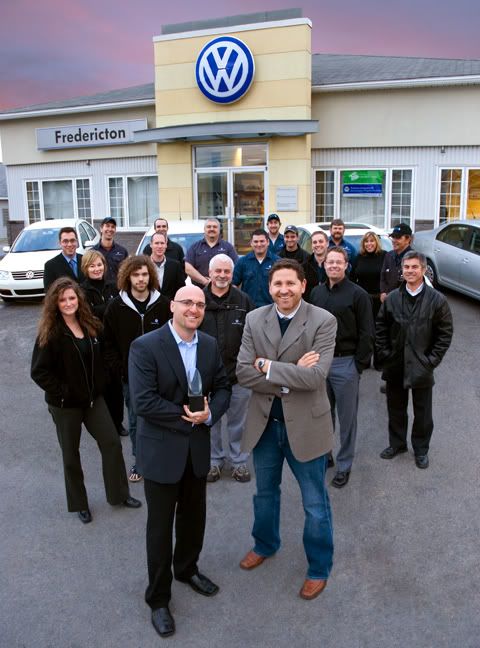
Above is the finished version for a change. You will find out how it started at the bottom of this post.
First i duplicated my background layer.
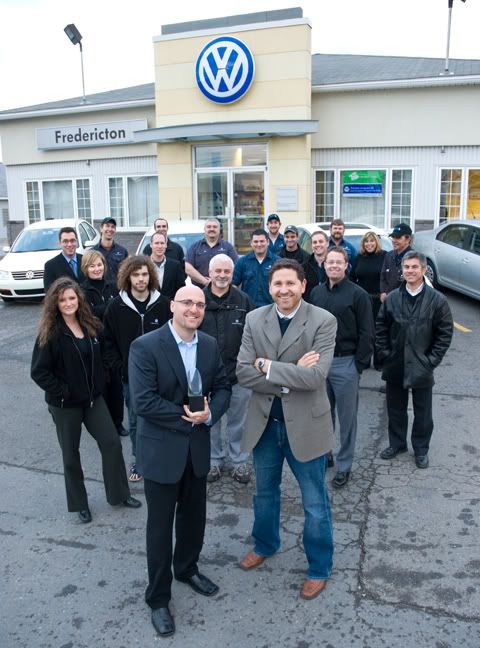
Then I started with the most obvious problem, usually how i decide where to start an image, which of course was the pavement. I used a combination of the healing brush, patch tool, and clone stamp to fix this up, oh yea, alot of patience also.
When i had that looking ok i retouched out the lights on the building and any other little imperfections i could find. I then did a selection of the sky using the magic wand tool with a very low tolerance, between 5 and 10. I hit the refine edge button and contracted the selection by about 25 and feathered about .6. I then inversed my selection and hit the layer mask button which masked out the sky.
I opened a photo of a sky i wanted to use and then drug the image onto my group photo. I placed the sky layer under my background copy layer so the sky only showed up where my mask was on the layer above it. I moved it around until i got the part of the sky i liked.
I added a curves adjustment layer and a saturation adjustment layer and smart sharpened the file.
I used my burn tool set to midtones and darkened the building and cars down a bit to finish this one off.
No comments:
Post a Comment