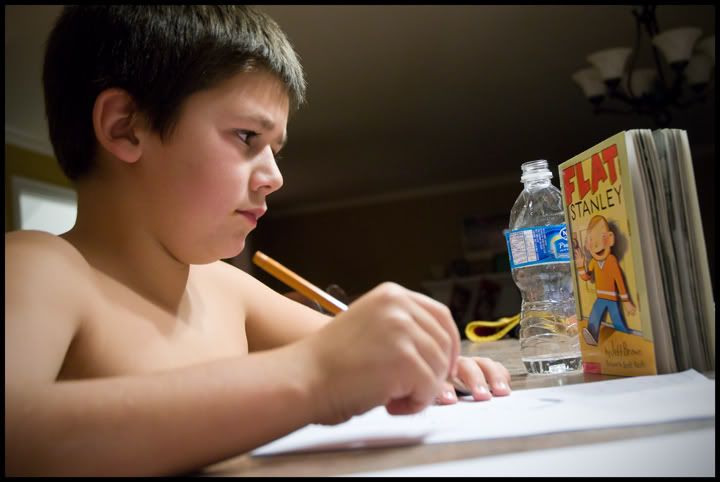
This photo was taken with a nikon d300 camera at 1250asa. Nikon has finally made some good advancements with noise reduction. As a side note, if you dont often need high iso's then just keep your d200's or whatever as you will not see alot of image difference.
I was reading the new napp photoshop magazine today and there was an article on reducing noise on just one channel. It didn't go into a whole lot of detail on the topic so i thought i would play with it a bit.
I started by scrolling through the channels in the channels pallete to see what one had the most noise. Definately the blue channel 9 times out of ten. Funny thing was however was that when i performed what i am going to tell you on the green channel it seemed to reduce more noise overall than the blue. Weird.
So i highlighted, or clicked on to activate, the green channel and went to the filter menu - noise - reduce noise and used a strength of 10, preserve details 9, and sharpen details 8.
I hit ok and then in the channels pallete clicked on the rgb at the top to view all channels together again. It softens the image just a bit but if noise is the problem then its worth it.
I also added a vignette to the image by going to filter - distort - lens correction, and moved the vignette - amount slider to the left (darken) to about -35, i also moved the midpoint to the left a bit too to make the vignette move in closer to the middle.
I put a black line around the image by simply going to image - canvas size and clicking on the relative box then putting in .2 to height and width. For background color i chose black.
Back to the camera for a minute.
I had the setting on the camera set to uncompressed raw and set at 14bit.
When i opened it in camera raw i opened it in the prophoto space (largest color space).
I made my corrections and then opened it in photoshop.
What you will have to do however if you do this is remember to go under image - mode, and knock it down to an 8 bit image when your done having fun with it in photoshop. You must also go under edit - convert to profile, and set srgb in the destination space if you want to put the image online or send it to a photo lab to be printed.
Sorry on this one to be all over the place.
No comments:
Post a Comment