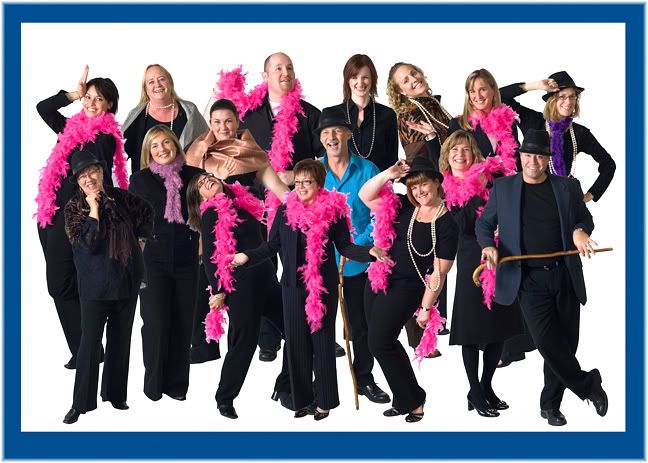
I am hired each year to shoot approx. 16 people individually, strip them all together into one photo, print 5x7's, place photos in frames, and then drop off the photos so the company can give them out the next morning at 7am. This year i shot at 6:30pm and had everything delivered at 12:30 that night, last night to be exact.
I started this process by creating a new image in photoshop with a size of 15x21 and 300dpi. I made it this size so it would reduce nicely to a 5x7 and because i shoot with a nikon d200 the individuals dont have to be reduced or enlarged in size when dragged onto this image. They fit nicely.
Next i open bridge in photoshop and rate the images (1 each) of each person 5 stars that will be added to the comp. I then open these rated raw files in camera raw and do my image adjustments. I then open all the files i have corrected in raw.
Now to each photo i select the white background, using the magic wand tool for ease and speed, set to a threshold of about 22. I get as much of the white as i can and then switch to the lasso tool and holding down the shift key i add the rest of the background. Next go to select - inverse to select only the person and then go into quick mask mode and tidy up the parts still not selected, mostly around the feet.
Once your happy with the selection get out of quick mask and hit the lasso tool (just so the refine edge button is visable) and hit refine edge. I set feather to 1px, radius to 1.5, smooth to 13, and contract/expand to -28. I hit the show on black button to check it and hit ok. Then i would reccommend going to select - save selection and saving it in case you need to go back and modify it.
Drag the image into your new image and then repeat this whole process for the next 15 or so people. If some white still shows around the hair or somewhere else when a black jacket is behind it then just create a layer mask for that layer and paint it out. I then just drag the layers around until they make a pleasing composition.
I sharpened, added a curve, and a bit of saturation and was done.
In the final image i also had a logo in the front which i took out in the image your seeing. I placed a border and some guides also so the people would extend approx the same width on both sides and then saved as a psd so all my layers were intact. Now next year when i do this shoot again, the template is already done and i just have to add the new people.
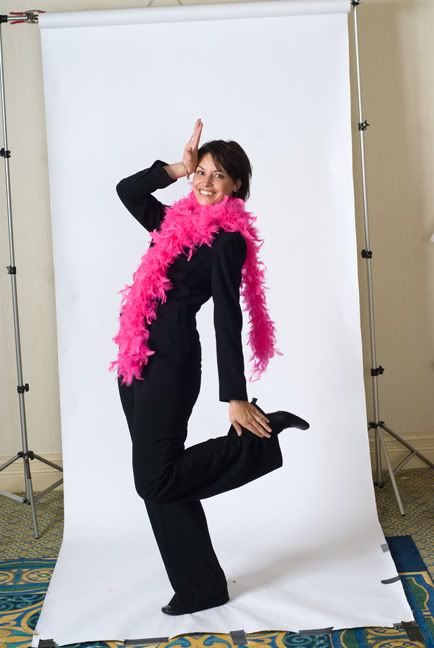
Below is a view of how things looked behind the scenes.

No comments:
Post a Comment