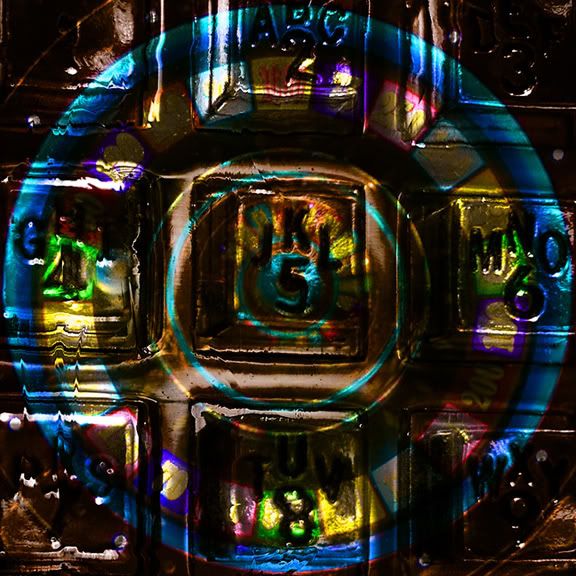
I have been noticing the use of displacement maps in a few new photoshop books i got recently and thought i would give it a try.
I dont know if i have chosen the best two images to demonstrate this effect but i liked the results so thought i would post it.
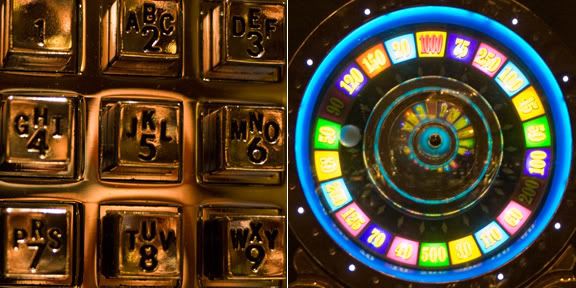
You start by opening the image you want to use as the texture, i opened the phone dial pad. Next open the image you want this texture to be applied to, i opened the slot machine image. Then drag the slot machine image onto the phone image using the shift key to center it. note: i cropped both images the same size before i started.
Then click on your background layer, the phone, and duplicate it (ctrl - j).
Move this new layer to the top of the layer stack and then desaturate it (shift - ctrl - u). Now save the image as a psd but unclick the layers button when the save as dialogue opens. This will save the file but will flatten the file.
Next go back to your top layer, probably still on it, and change the blend mode to hard light. This will blend the phone into the slot machine. To make the phone contour better to the slot machine we have to now use a displacement map.
Click on the slot machines layer and then go to filter - distort - displace. When the dialogue opens type in 5 for horizontal scale and 5 for vertical scale and click on wrap around. You can also leave stretch to fit checked. Click ok. When the open dialogue appears, go to the file you had saved earlier and select it and hit open.
I added some saturation and adjusted the curves after all this was done and sharpened using unsharp mask quite heavily.
I know this was a confusing post and i appoligize. I will try it again soon with two different images.
These are the two images below that i started with.

No comments:
Post a Comment