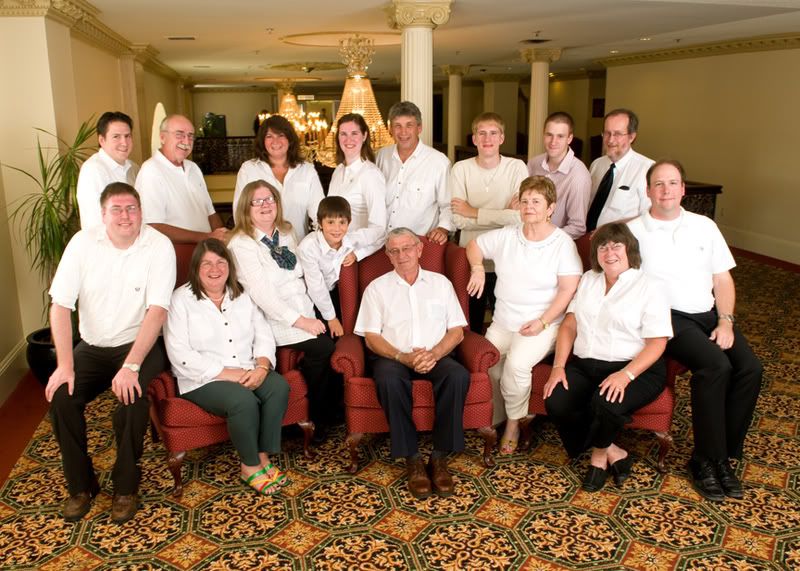
The above photo is one i did recently for a recent co-workers fathers 80th birthday.
They were having supper with the entire family at a local hotel and wanted a group shot taken before they went in to eat.
The lobby was crazy busy so i set up two strobes in an upstairs spot overlooking the top of the main lobby. It was the only spot available and although i was not entirely happy with it i had no choice.
This top photo was straight out of the camera (cropped is all).

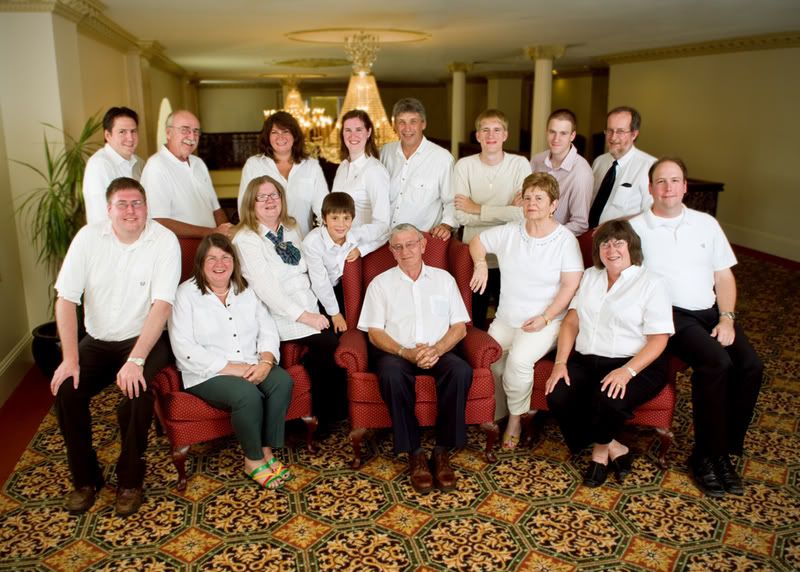
This is the retouched image. I started by retouching out all the distracting elements, like sprinklers, ceiling vents, people and wall plaques in background, and of course the oh so huge pillar just behind the group. For all of this i used a combination of the clone stamp and the healing tool. I usually try to clone first and then blend in the results with the heal tool.
I also wanted the family to stand out more than the background so i duplicated the background layer and applied a gaussian blur of about 2.5. I then used a layer mask and painted in black over the family so the underlying layer would show through leaving only the background of the image blurred.
I also used the liquify filter on the lady sitting on the arm of the chair to the right of center. I had placed her there and it may not have ended up being the most flattering of poses for her as her tummy was all bunched up. I tucked it in a bit as well as her arm. I sharpened the image and applied a curve for color. Not sure if i like the color curve now or not. May be a bit green. I stared at my monitor all day and i think this can hamper your color correcting abilities.
One more note on the retouching. I used the square marquee selection tool on the left side of the circle on the ceiling as the right side was hidden by the pillar. I then hit edit-copy and paste. I then went to edit-transform-flip horizontal and drug the copy to the right side of the circle.

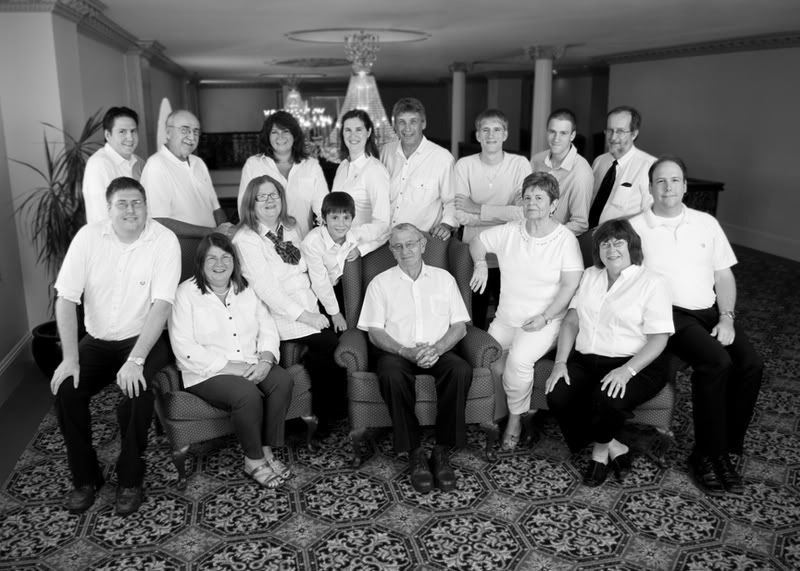
One of the ladies told everyone to wear white, which i cringed at when i saw it initially.
I thought if i converted it to black and white it may become more balanced and subdue the pattern in the carpet a bit.
This shoot was a prime example for me that the shoot is only half of the job. I spent a good part of my evening preparing it in photoshop. Remember this when quoting on a job.
2 comments:
Hi Rob. I've got a shoot like this for my inlaws next month and am scared. It's good to know that I can correct after the fact, but I was hoping on some advice for shooting. Are you shooting around fll? And about lighting, I see you put them next to a window on their right, but I have only one Nikon sb800. How can I possibly make this work? any advice?
tanya,
i used two lights here bounced into umbrellas, one on each side.
If i only had one flash i might keep it on camera and bounce it off the ceiling. Drag the shutter to place the ambient where you want it. Hard call really. dont be scared though. Your shots will be far better even if you dont like them, than if someone else shot it.
Post a Comment