Friday, July 31, 2009

back to hdr

Photobucket
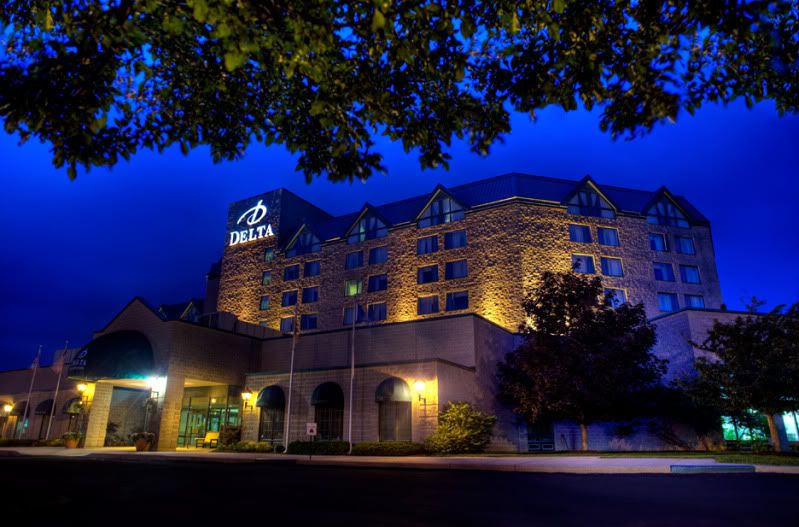
I have been doing a few night shots for a local hotel and thought this image ended up ok.
I shot with a 24mm lens at iso 100 and bracketed over a 9 stop range. Just used ambient light and auto white balance.
The longest exposures were probably around 4 seconds or longer. Use of a tripod was necessary here.
Once downloaded through lightroom i sent 5 of the exposures to photomatix pro.
After tone mapping i basically had the rough start of the image. I did alot of retouching as there was a bit of flare spots in the shot and sidewalks and roads always show tons of cracks which had to be fixed. For the road i just duplicated my background layer and then selected the pavement using a few of the selection tools. I then filled the selection with black and changed this layers blend mode to luminosity. I dropped the opacity to 50% and the road looked freshly paved. Actually i think it ended up a bit too dark in the end after i did a couple curves adjustments.
I rotated the photo a bit to straighten it and sharpened it about 45% with smart sharpen. The curves boosted the contrast a bit and fixed the color. Color here is pretty subjective but in the end i liked it.
I also had to extend the branches as there were none in the upper right hand quarter of the image. I just used the clone tool set to 100% and took branches from various other parts. I filled in some gaping holes in the rest of the branches this way also.
One other part i had to fix was the delta sign. Part of the D was burnt out and the rest of it picked up some blue color through parts of it. I made a selection of the parts i wanted white and hit refine edge and feathered the selection by 1.5. Then just fill the selection with white.
Thursday, July 30, 2009

to fill or not to fill 2

Photobucket
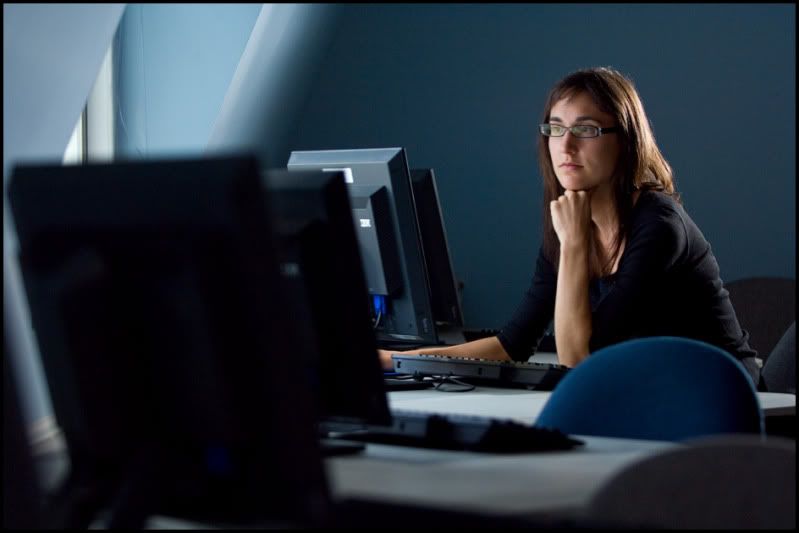
As promised here is the other shot i mentioned last night.
I still have the nice ambient light coming in from the window but have also added a sb flash behind my subject and angled a bit towards the camera. I wanted this light to spill onto the wall to my left and highlight the areas behind the computer monitors for separation.
I used the same camera settings to capture the proper exposure for the ambient and just adjusted the flashs manual power until it was the right intensity.
Not sure which i like better, but probably leaning towards this one.

Wednesday, July 29, 2009

to fill or not to fill 1

Photobucket
This shot will be an example for two discussions.
The first is showing another example for a main light.
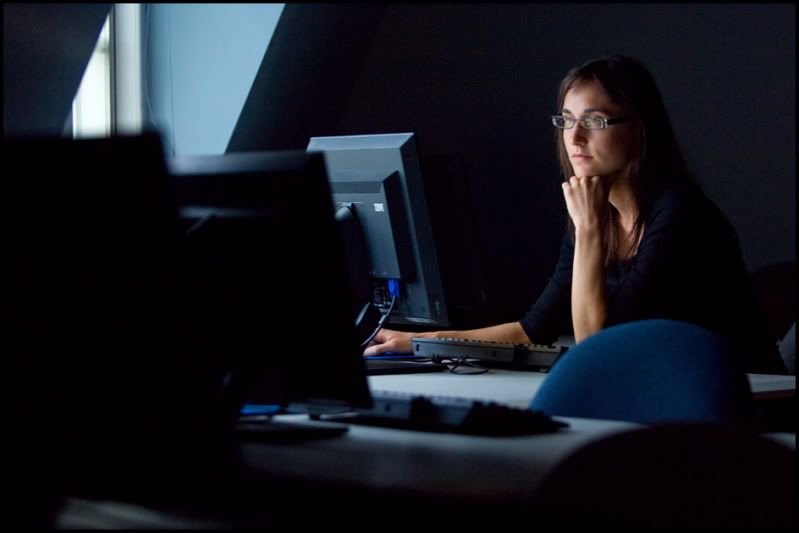
When i peaked my head into this computer lab i noticed that there was only one window in the room and there was some pretty cool light coming in from it. Now some of you that follow this blog are most certainly "strobists". I did this post to let you know that it is ok to use ambient for a main light. Believe it or not ambient is not a dirty word (ha).
I chose a shallow depth of field, actually i had to as there was not much light coming in and my shutter speed was getting pretty slow. I was using a d2x nikon at an iso of 560 and the grain is pretty obvious. I could not have gone much higher with the iso. The window was the only light used in the shot.
The second example that this image will show is to try another option. I thought about how the shot would look with a flash added for fill and threw one in to try it out.
I will post that image tomorrow night.

supper sidebar

Photobucket
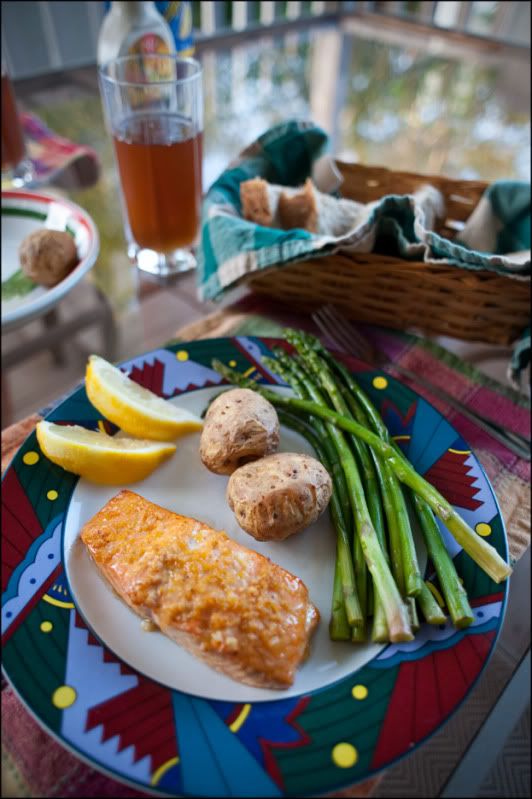
This is just a quick sidebar on last nights supper.
Used ambient light and a 24mm lens set to f2.8.
More importantly however: salmon glaze was made from 2cloves of garlic, maple syrup, lemon rind, and a touch of honey.

Tuesday, July 28, 2009

whats in a main light 2

Photobucket
I just wanted to talk a bit more about the main light. I wont talk that much actually, i did enough of that in the last post, but more importantly show an example.
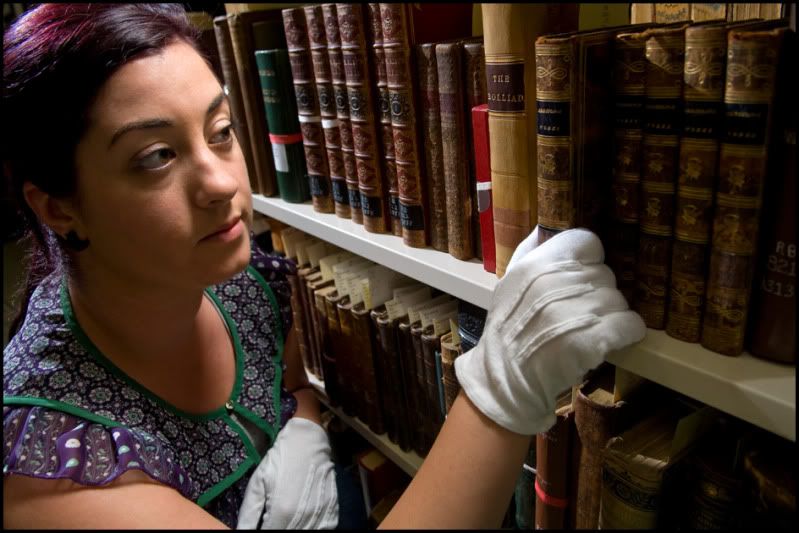
The photo above was taken in a different area of the library in which i shot the image i posted yesterday but in the same type of setting. I had the model in between two rows of books. I placed a flash behind her again like before but placed it in pretty close to the row of books that she is looking at so the shadows would be good and dramatic. This light provided a hair, seperation, light and took care of the books also.
For the main light i wanted a bit softer light and did not want it to spill on the books too much while still being fairly dramatic. By dramatic i mean light a portion of the face and leave some in good shadow. I laid the flash on one of the shelves above where my model is and angled it straight up at the under side of the shelf above it. Luckily these shelves were a light tan color, almost white, which gave a perfect bounce surface. This softened and broadened the light and spilled it back down at her face below. Too easy, and i mean that as it worked really well on the first test. I then just placed her tight to the books and angled her face up a bit to catch the light right. She was perfect for the shot which made my job really easy.
If i were to try this shot again i might play with a CTO warming gel. Probably on the background light. I would be curious to see how that would look.
One of the things i really like about this shot is the hair light. The color of her hair was an added bonus.
Tomorrow we get into "to fill or not to fill".
Yes i know, i'm weird.

Monday, July 27, 2009

whats in a main light 1

Photobucket
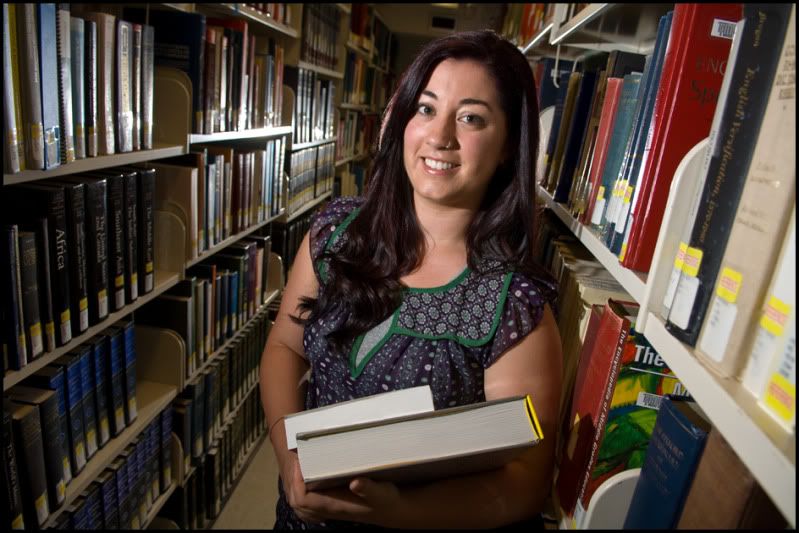
This post and the next 3 will be talking about, and showing examples of, the "main light". This of course is the light that does the heavy lifting when lighting your subject, most of the time anyway.
If you used an on camera flash, and no others, then that would be your main light. If you used a flash off camera to camera left and aimed at your subject, and a flash placed behind the subject, then the first one i mentioned would most of the time be called the main light. I say most of the time because there are really no hard and fast rules here. Your main light could be aimed at your background if you wanted it to be.
I would call my main light in the shot above the one that is placed to camera left and is aimed at the models face. I zoomed it in a bit, cant remember how much, as i wanted it to more or less created a slight spot effect. I did not want this light to hit the books in the isles or spill too much down her body. I wanted it to be punchy so i moved some books to my left, at about her face level, and asked a very nice lady to be my light stand and hold the flash in the hole i made on the shelf and point the flash directly at my models face. No softening stuff here.
I placed a second flash (used sb 800's although thats not important, both set to manual) on a light stand behind the model and aimed it directly at her. I zoomed it a bit also so it contained the spill of light. I had to keep going back to adjust it as it took awhile to balance it to the main light. First it was too bright and then of course it was too dark. Ten trips or so back and forth and it was just right. At about this point i always would like to know what my subjects are thinking. Like "he really must care if he is putting this much effort into my photo", or, "I wonder what ratio he is using", or, most likely, "does this guy actually know what he's doing".
So after all this babble what do i want you to take away from this post.
1) There is really no right or wrong way to use a main light. Ex: you can use a direct flash, bounce it, use an umbrella, shoot thru one, soft box, whatever. What matters is what feels right to you at the time your taking the photo. If you want to convey a mood or a feeling then use a type of main light that helps you convey this.
2) Dont be afraid to experiment. Try something you havent tried before or something you read about once in awhile. Your taking photos remember, not doing heart surgery. Whats the worst that can happen.
3) Do what looks right and feels right to you, not what you think someone else wants to see. It's your name that will be going under it in the end.
4) Have fun.
Thank you very much to my model in this shot "A" for your permission to post your photo here. You did a great job in all the shots we put you in and were very patient with me running around balancing lights. One question though, what were you thinking at the time???
I'll go with door number three.

Tuesday, July 21, 2009

just a little something

Photobucket
It has been forever since my last post.
Vacation has me way too relaxed and my fun photo stuff has screached to a halt. I have been taking a ton of photos but they are all work and no play.
As a matter of interest to me, i just checked the file info on the last photo i have taken with my new camera (bought 10 months ago) and i have taken 27,000 photos with it. I was surprised actually, i thought the number would have been higher. At this rate i will need a new one in another 4 years. Dont tell my wife.
Ok, enough babble.
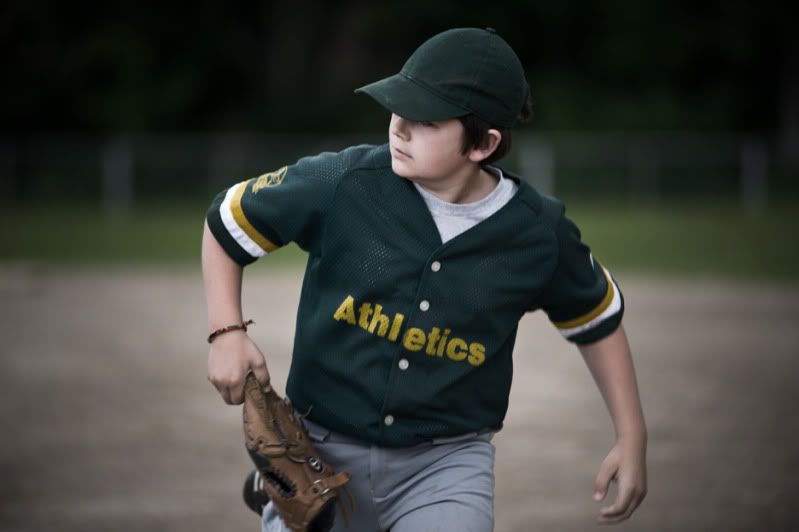
This was an image i liked of my son that i took last week.
I tried using black and white conversion and played with the color sliders but was never happy with the results. I ended up duplicating the background layer and desaturating this new copy. I then lowered the opacity on it to get some of the color to show through from the background. I did a curve on this layer to boost the contrast a bit and then flattened.
I added a vignette and also darkened the edges and his uniform using the burn tool set to midtones and a strength of 7%.
I ended by dodging his eye a bit using the dodge tool set to highlights.