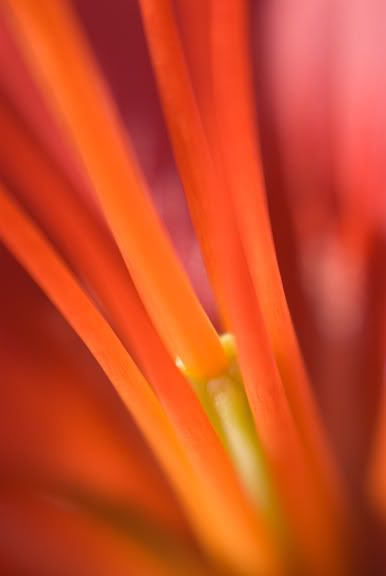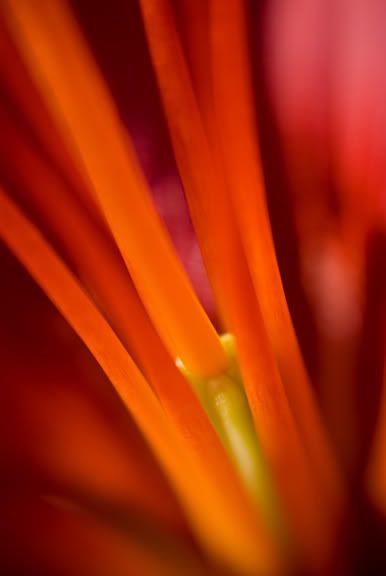
I know, i promised camera raw stuff and believe it on not i am half keeping my promise. The image above was shot by myself tonight with a lensbaby and a macro lens adapter. This version has not been tweeked and is how it looked out of the camera. So what would i do to improve it.
First of all i opened it in camera raw and set my exposure and black settings to get the contrast looking right with no blown out highlights. I moved the recovery slider to 7, the clarity to 15, vibrance to 15, and saturation to 3. I then went under the lens correction tab and set the lens vignetting to an amount of -24 and the midpoint to 18 to apply the vignette i wanted. I then opened the image in photoshop.
I used the healing tool to take out a few blemishes and then smart sharpened about 50 amount with a radius of 1. I did not need to use curves as i had already did all the work in camera raw so i moved to my apply image effect to add some information into the red channel to give some depth to the flower. I wrote about this in detail in an earlier post which you can find on this blog.
The results of all this work are subtle but when compared side by side the tweeked version looks much better.

1 comment:
Very Nice. I am loving the new clarity and sharpening tools. Especially now that Lightroom 1.1 came out this past week.
Post a Comment