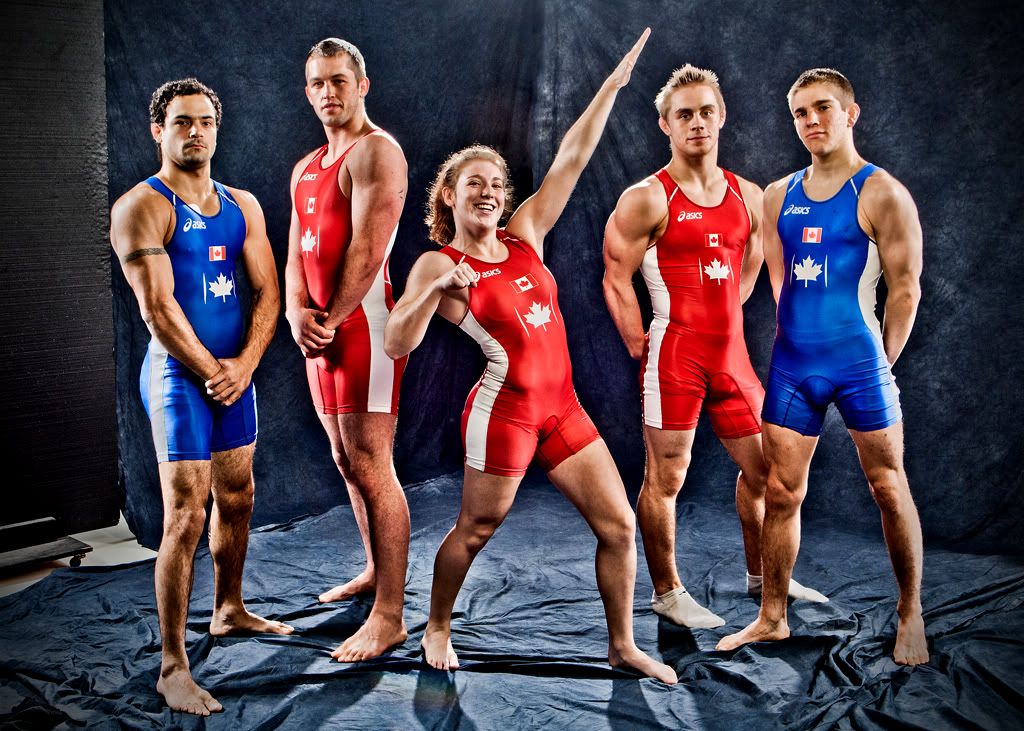
Thanks first off to these models for permission to post this image to my blog.
I was happy with the shot and wanted to make sure i got the notes down so i would remember how i did it, as well of course as sharing the information so others could do it too.
I set up 4 lights. The main, which was high and ust to the right a bit, was a large softbox shooting straight accross the ceiling. I had a light on the left and right which were reflected into umbrellas. I also had a light high up and directly behind the group which was aimed direct at them with a 40 degree grid spot. The power packs were all set to full power and the lowest setting they could go.
In lightroom i put the recovery, fill light, contrast, and clarity at 100%. My blacks were at 70% and saturation was -38%.
In photoshop i sharpened about 37% and added a vignette (twice actually) to burn the edges down. I also applied a curve to increase the blacks and lighten the highlights (just moved the top and bottom of the curve in a bit).
This was just a fooling around shot at the end of the shoot by the way. Otherwise i probably would have removed the last pair of socks.
No comments:
Post a Comment