Friday, December 17, 2010
closer hdr
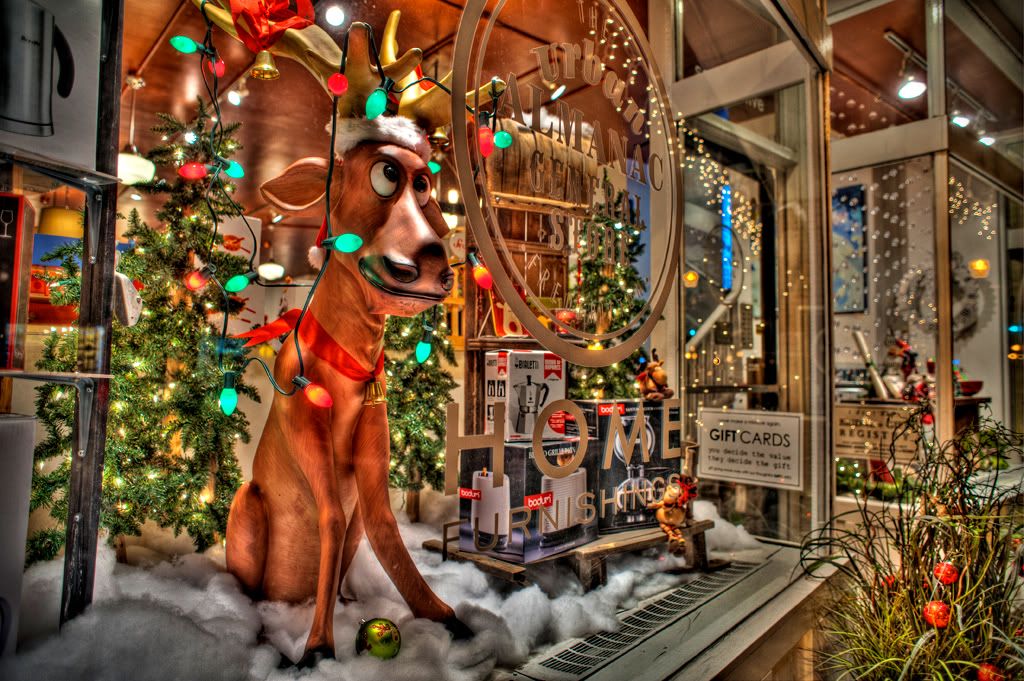
I shot a couple angles of the windows i shot last night and this is the close up.
I processed this one to look a bit more like the typical hdr images you may have seen around.
I used a 7 image bracket and then in photomatix combined 3 images.
Photomatix can be a little bit of a guessing game with all the sliders it offers so i thought i would post my settings for this shot.
Strength 100, color saturation 63, luminosity +6.3, monocontrast 100, smoothing low, white point .926, black poing .111, gamma 1.090.
I then brought it into photoshop and sharpened, did a curve to boost the contrast a bit, and added saturation as i wanted the colors to really pop.
Thursday, December 16, 2010
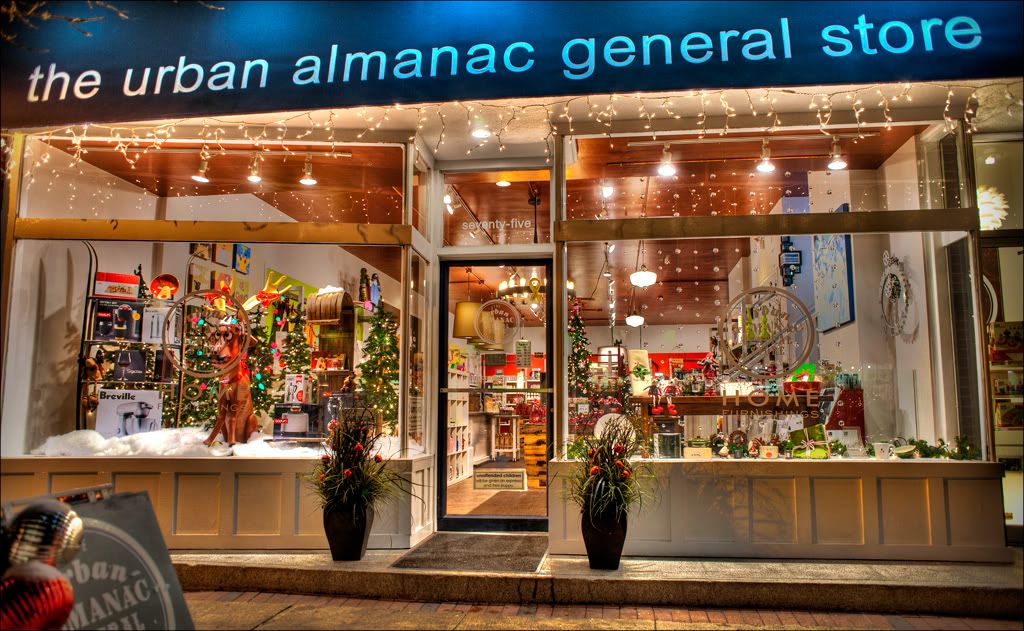
nighttime hdr
I haven't done many hdr shots in awhile.
I had to shoot windows of downtown stores tonight and this is certainly one of the nicer looking stores on my list.
I decided to shoot an hdr of it and used three of the 9 exposures to make the image.
The only other thing i did was retouch the top of the image a bit and apply a vignette and sharpen.
My fingers are just warming up.
Wednesday, December 15, 2010
happy holidays
We had a great year and hopefully you did as well.
Happy holidays to all of you that frequent this blog.
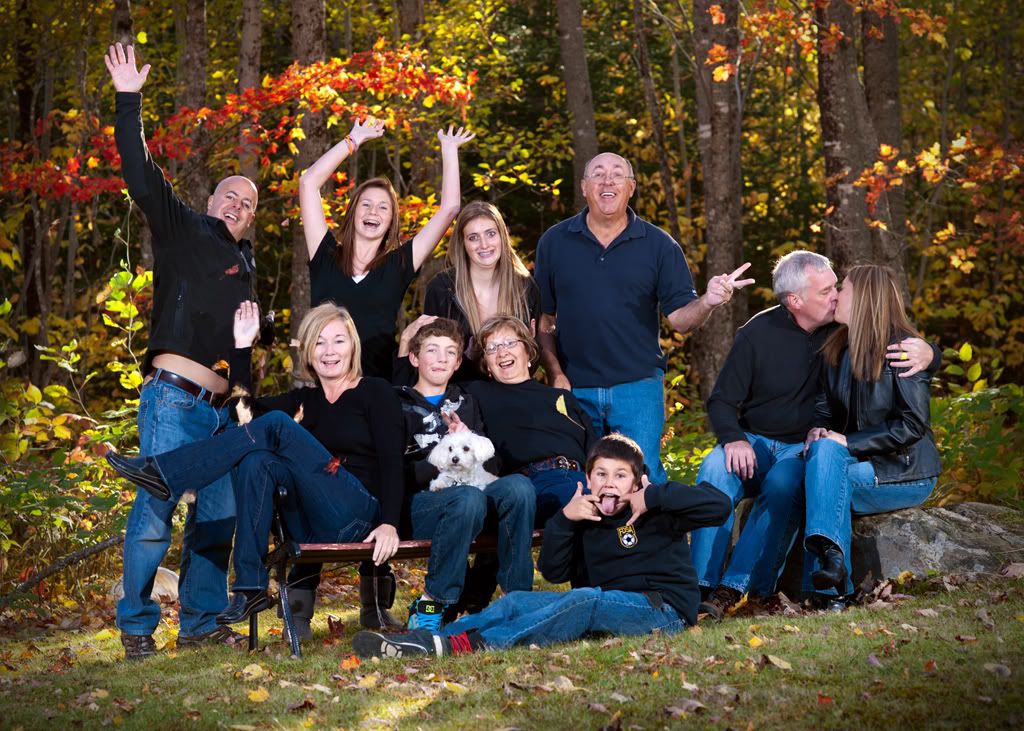
For this fun family photo i combined two different shots to use the best of both.
The camera was on a tripod so not much changed between them.
I placed one on top of the other and used auto align layers and then used a mask on the top layer.
I did have some retouching to do afterwards as there were parts that just didnt show through properly but for the most part it wasnt too bad.
I applied a curve to warm up the blacks (just add magenta and yellow to the shadows) and applied a couple vignettes to darken up the edges.
Thursday, December 02, 2010
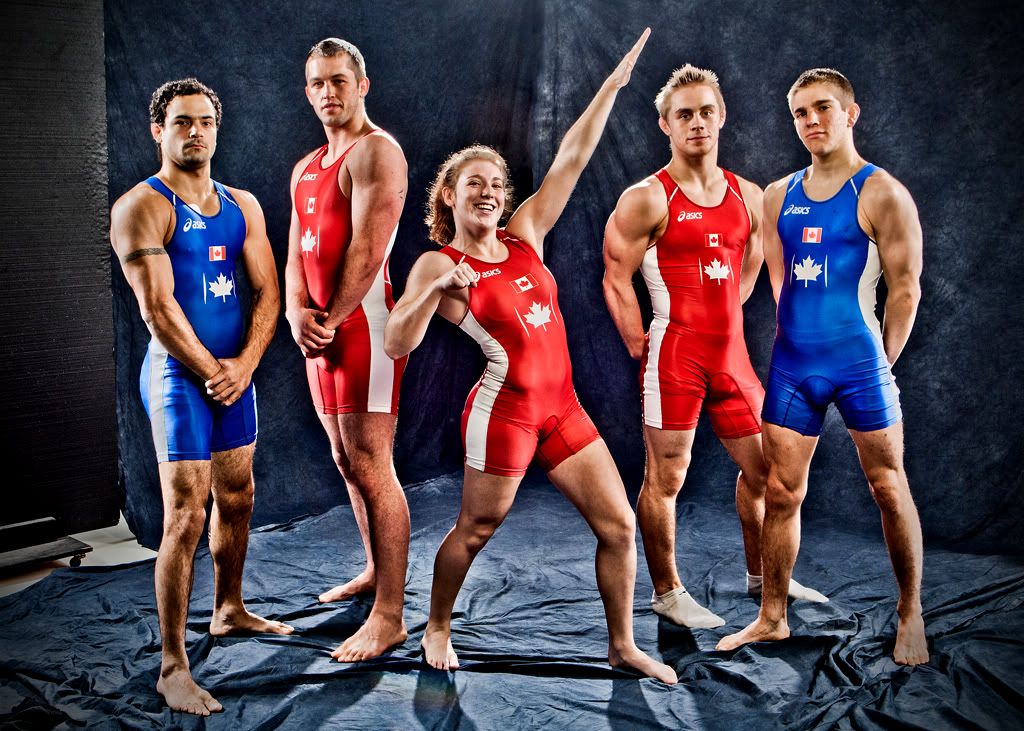
hi contrast card
Thanks first off to these models for permission to post this image to my blog.
I was happy with the shot and wanted to make sure i got the notes down so i would remember how i did it, as well of course as sharing the information so others could do it too.
I set up 4 lights. The main, which was high and ust to the right a bit, was a large softbox shooting straight accross the ceiling. I had a light on the left and right which were reflected into umbrellas. I also had a light high up and directly behind the group which was aimed direct at them with a 40 degree grid spot. The power packs were all set to full power and the lowest setting they could go.
In lightroom i put the recovery, fill light, contrast, and clarity at 100%. My blacks were at 70% and saturation was -38%.
In photoshop i sharpened about 37% and added a vignette (twice actually) to burn the edges down. I also applied a curve to increase the blacks and lighten the highlights (just moved the top and bottom of the curve in a bit).
This was just a fooling around shot at the end of the shoot by the way. Otherwise i probably would have removed the last pair of socks.
Subscribe to:
Posts (Atom)