Just wanted to do another post to further explain the effect i did in my last post on the car.
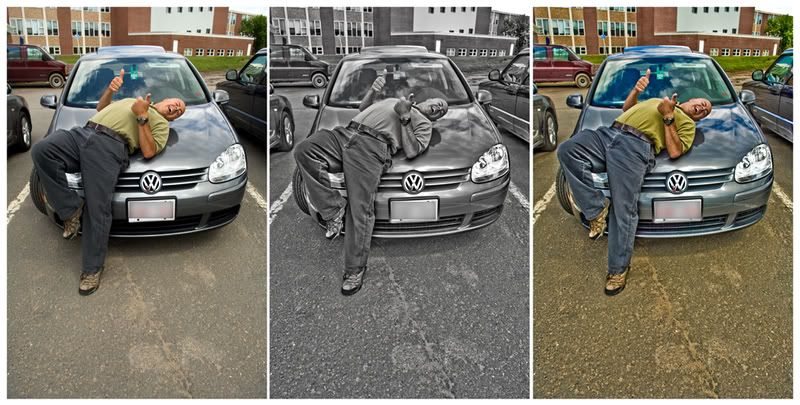
In the image above you will see the original unaltered image on the left.
In the middle i took the recovery, fill light, contrast, clarity, and vibrance up to 100% in camera raw. I then lowered the saturation down to 0.
In the image on the right i left the camera raw settings the same as in the middle image but brought the saturation back up a bit to keep some color in.
I sharpened all images the same and applied the same curve to each to boost the contrast up a bit.
I like this effect but just need to experiment a bit more with it to add my own flavour.
No comments:
Post a Comment