Wednesday, June 25, 2008

flowers

Photobucket
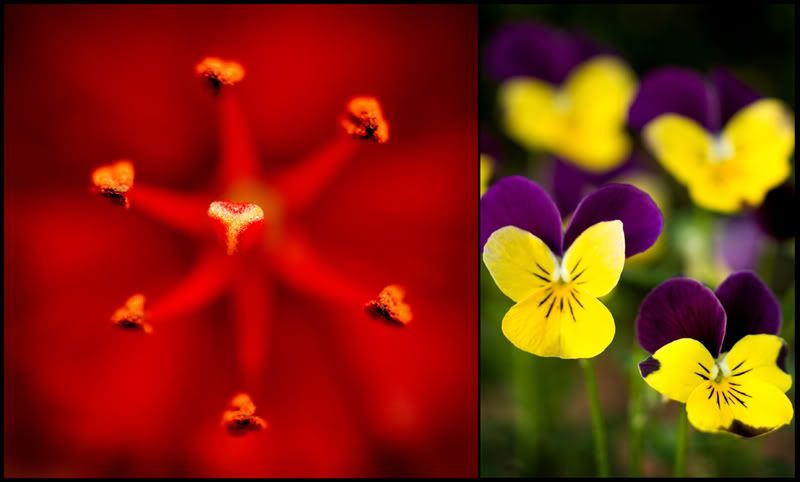
I typically dont shoot many flowers but thought i would give it a try last night.
I played a fair amount with the images in photoshop of course after.
Mainly saturation and curves to make them look the way i wanted and then i applied a vignette using filter - distort - lens correction to darken the edges of each image separately. I sharpened about 75% and put them together on one canvas.

Tuesday, June 24, 2008

autoblend

Photobucket
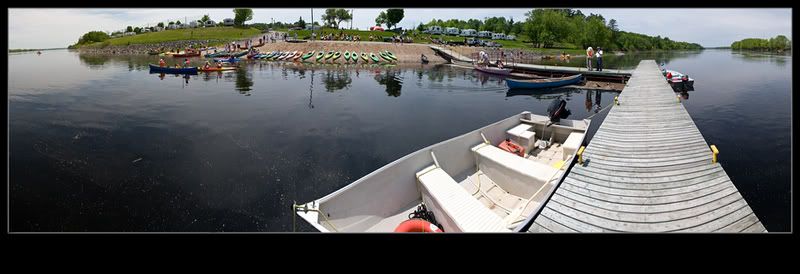
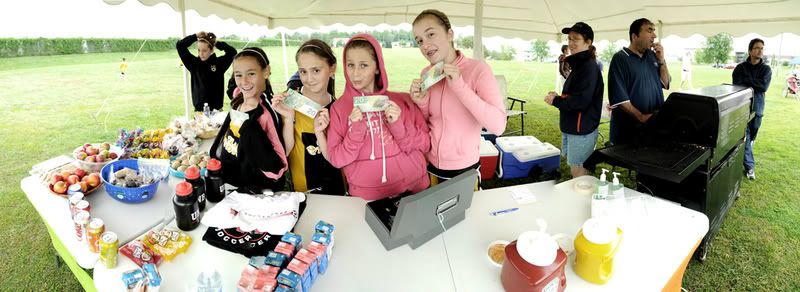
I took about 6 photos of this bbq fundraiser and intended to strip them together using photomerge.
I tried and it didn't even come close to working.
I then went to my old standard which has never let me down, autostitch.
That didn't work either.
So, what now.
I thought i would try to bring all the images into one new blank canvas and see how close i could get them to where they should be. I did this and then highlighted all the layers in the layers pallate and hit edit - autoblend layers.
It actually did a fair job.
Looking at this finished photo you may be noticing all kinds of blending problems but you should have seen what photomerge and autostitch did. They just made a nasty mess, and even though auto blend was not perfect it was close enough for me on this one.
Just an idea if all else fails.

Friday, June 20, 2008

camera raw details

Photobucket
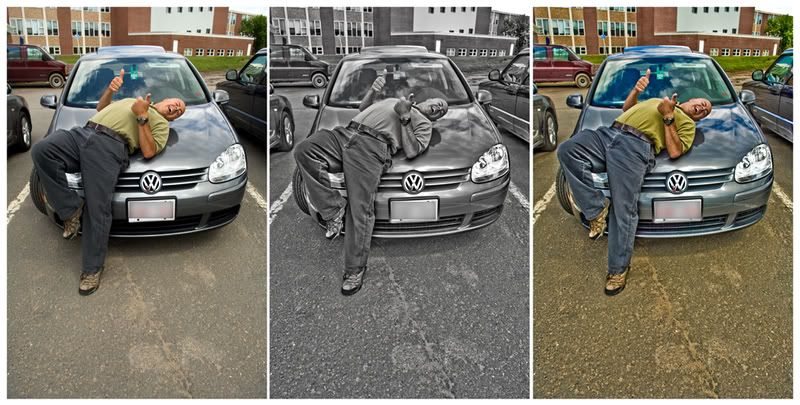
Just wanted to do another post to further explain the effect i did in my last post on the car.
In the image above you will see the original unaltered image on the left.
In the middle i took the recovery, fill light, contrast, clarity, and vibrance up to 100% in camera raw. I then lowered the saturation down to 0.
In the image on the right i left the camera raw settings the same as in the middle image but brought the saturation back up a bit to keep some color in.
I sharpened all images the same and applied the same curve to each to boost the contrast up a bit.
I like this effect but just need to experiment a bit more with it to add my own flavour.

Tuesday, June 17, 2008

camera raw effect

Photobucket
I am once again a tad bit on the busy side but had a few minutes to play tonight.
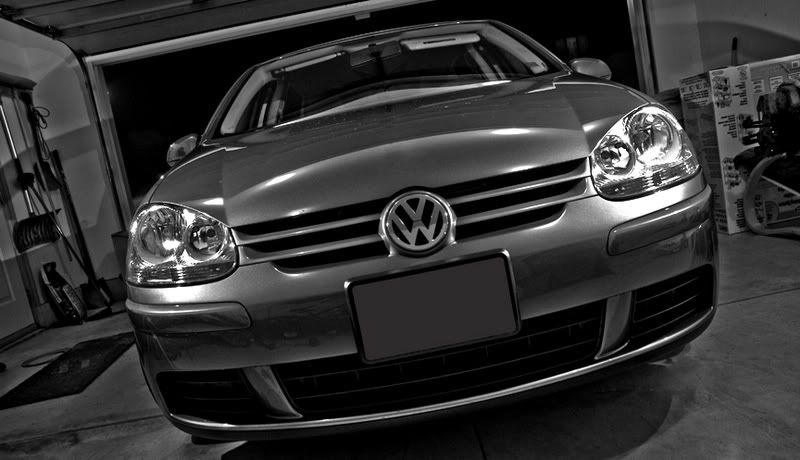
I had a flash set to each side of the car mainly to hit the headlights and then spill onto the body.
I opened the file up in camera raw and then took the clarity, fill light, recovery, and contrast sliders all the way to the right.
I took the saturation all the way to the left.
I then played with the blacks and exposure to get to the look i wanted.
I opened the image in photoshop and did a curves adjustment to further increase the contrast and sharpened the image about 100% in smart sharpen.
I got this recipe from this months issue of photoshop user magazine. I read it a few days ago and did not refer back to the book tonight while doing this image so i may have missed a few of their steps.
It is a very good issue by the way and i highly reccommend getting this latest issue.
Sunday, June 08, 2008

photomerge river

river
I took a few photos at a riverfest event today and thought i would try making a pano with photomerge in photoshop.
I usually use autostitch for this task but gave photoshop a chance on this one.
I shot 14 vertical photos handheld and overlapped each image by about half. I selected the 14 images in bridge and went under the tools menu and down to photoshop and to photomerge. I left everything set at default settings and hit ok.
Once it was done i just cropped it to get rid of the jagged edge and that was about it.