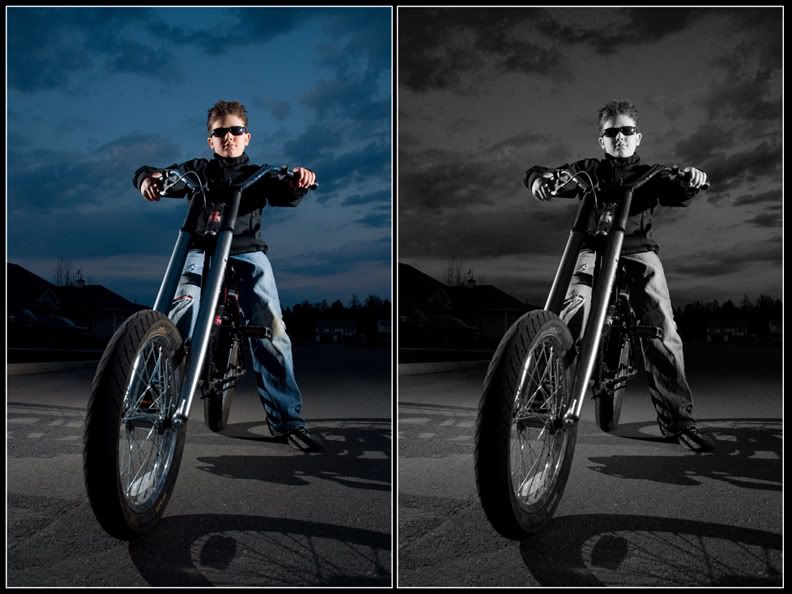
My son gave me another 10 minutes tonight to take his photo on his bike. He was sporting his new hair cut and my sunglasses and looked pretty cool so a photo was a must. It was close to dusk and the sky looked on the dramatic side so i grabbed two sb flashes and placed one to the left of him and one to the right. Not copy lighting mind you but more cross lighting as they were directly to his sides and not out in front of him at all. I had a pocket wizard on one and a slave on the other to trigger them.
I set the aperature for the flashes and the shutter speed for the sky behind him.
After i got it into photoshop i played with the image a bit, a curve for color correction, healing brush and clone stamp for distractions, and smart sharpen to finish it off.
I liked it in color but thought i would take a look at black and white and i really liked that approach. The sky became even more dramatic which surprised me. As you know there are many, many ways to convert an image to black and white. For this one i used image - adjustments- black and white. Once you get into this panel instead of moving the different color sliders around try just placing your curser on the image and when you left click the curser becomes a scrubby slider. So for example i placed the curser on the light part of the sky, left clicked and by dragging it to the right (or i think it was to the right) it made the sky lighter in that area. I placed the curser on the dark part of the sky and dragged the opposite direction and made those parts darker.
And so on and so on. Remember that when you click on a part of your image all areas of that color will be affected.
No comments:
Post a Comment