Wednesday, April 30, 2008
water rising
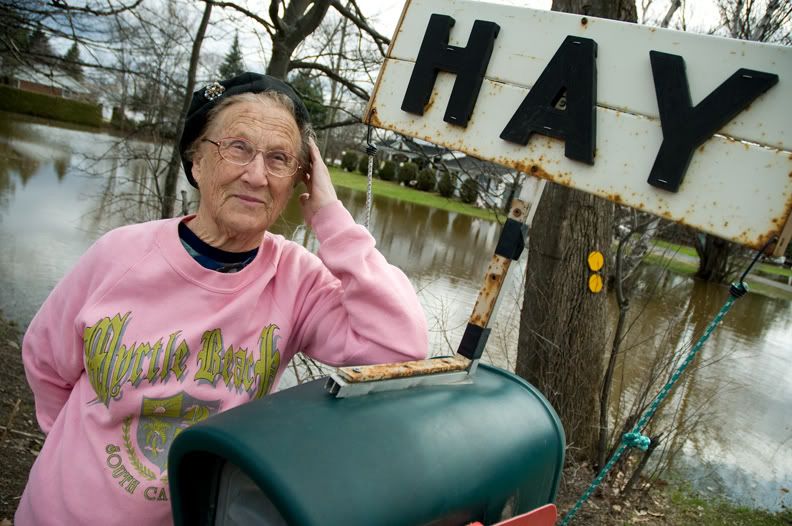
I actually did zero to this image in photoshop. I shot it for western canadian newspapers and apparently it will be the cover of the national post tomorrow.
I am more happy about the conversation i had with her, 81 year old June, than i am with the photo. We talked about the flooding of course, about her husband Karl in his rubber dingy, about their home and how long they lived there, and about eye surgery. We had the same surgeon if you can believe that. She is having trouble with her eyes and they cant seem to help her.
June was just one of those people that caught my interest right away. I have no idea why but i definately did enjoy our meeting.
This was shot for a story on our towns rising river. The water level is very high and getting higher. If you are shooting for newspapers the only tip i could give you is to include a person in the shot. Be as creative as you like but get the human element in there.
Wednesday, April 23, 2008
black and white conversion
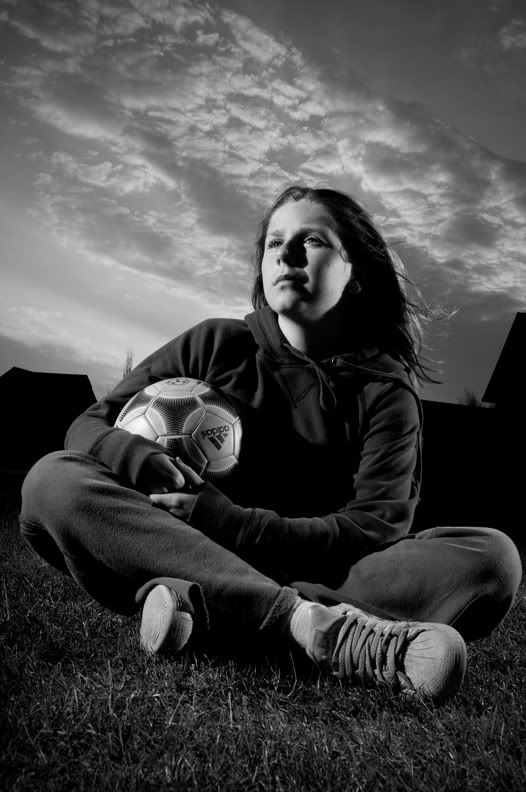
I only have a few minutes tonight but wanted to get an image up that i shot a couple hours ago.
I set up two flashes for this shot. One was placed to camera left and acted as the main light. It was pretty far over, mabey at about 70 degrees. The second flash was placed to the right and just behind her a bit. I played with the shutter until the sky was where i wanted it, i think it ended up at about 1/250 sec.
I brought the image into photoshop camera raw plug in and tweaked the white balance and exposure and brought up the black slider quite a bit to make the shadows strong. It looked pretty good in color but lastly i thought i would bring the saturation slider all the way to the left to check it out in black and white. There it stayed. I felt it was a much stronger image this way.
The foreground grass and top of the sky were a bit on the light side so i duplicated my background layer first of all. Then with the top, new layer, highlighted i went to filter - distort - lens correction and applied a vignette. I made the amount quite high (slider moves to the left) and moved the midpoint to the left also to bring the darkness into the image. I then made a layer mask on this layer and painted in black over her face just to make sure that none of the vignette darkened her. I didn't paint in the mask around her feet as they were ok to go darker.
I smart sharpened about 50% with a radius of 1 and was done.
Sunday, April 20, 2008
blackandwhite
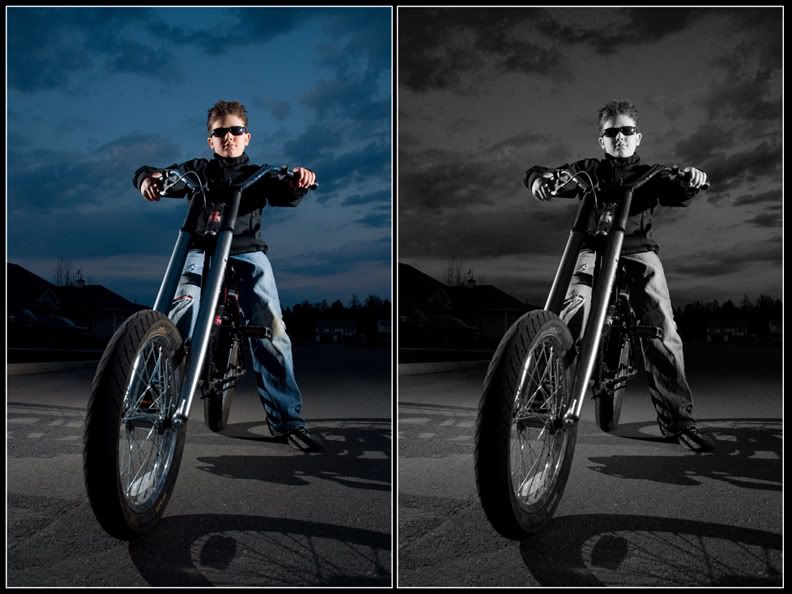
My son gave me another 10 minutes tonight to take his photo on his bike. He was sporting his new hair cut and my sunglasses and looked pretty cool so a photo was a must. It was close to dusk and the sky looked on the dramatic side so i grabbed two sb flashes and placed one to the left of him and one to the right. Not copy lighting mind you but more cross lighting as they were directly to his sides and not out in front of him at all. I had a pocket wizard on one and a slave on the other to trigger them.
I set the aperature for the flashes and the shutter speed for the sky behind him.
After i got it into photoshop i played with the image a bit, a curve for color correction, healing brush and clone stamp for distractions, and smart sharpen to finish it off.
I liked it in color but thought i would take a look at black and white and i really liked that approach. The sky became even more dramatic which surprised me. As you know there are many, many ways to convert an image to black and white. For this one i used image - adjustments- black and white. Once you get into this panel instead of moving the different color sliders around try just placing your curser on the image and when you left click the curser becomes a scrubby slider. So for example i placed the curser on the light part of the sky, left clicked and by dragging it to the right (or i think it was to the right) it made the sky lighter in that area. I placed the curser on the dark part of the sky and dragged the opposite direction and made those parts darker.
And so on and so on. Remember that when you click on a part of your image all areas of that color will be affected.
Monday, April 14, 2008
improvements??
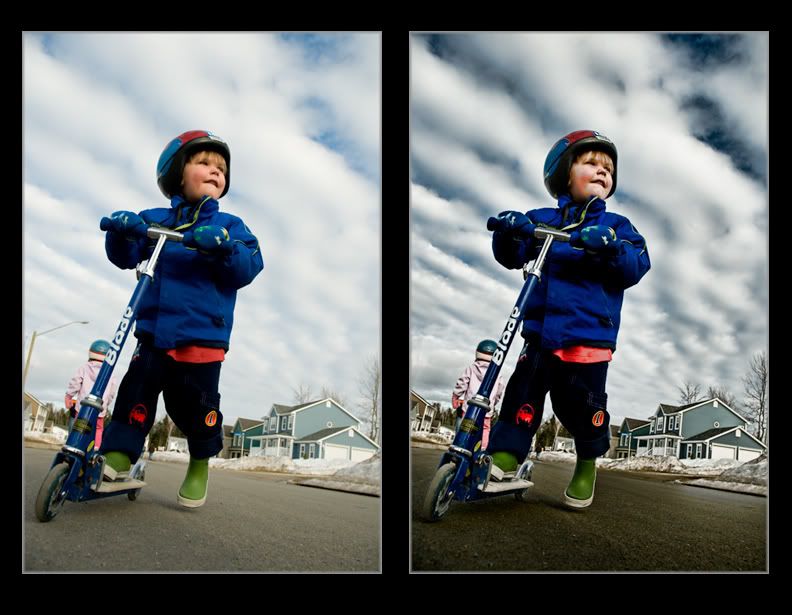
I always love it when something about a photo I take interests me. When this happens it seems to stay on my mind until i can get a chance to sit down and play with it and make it even more interesting.
I shot this photo yesterday of a neighbors child as all the kids were out on the street with their new bikes. I was in front of him and his scooter (actually my daughters) and held the camera down at ground level while aiming it up at him. I had it on continuous focus and i walked forward while shooting as he made his way up the street.
I took about 10 or 15 shots of him and this was my favourite. I knew that i wanted to make the shot look a bit more dramatic and to do this i darkened the sky and road. For the sky i ran the photo through the lucis art plug in which helped a bit. I also used the burn tool set to shadows and painted (burnt) in the dark squiggles of sky that poked through the clouds. For the road i made a selection of it using both the lasso tool and quick mask mode. Once i had it selected i just applied a curve to darken it down. I actually did the sky and road adjustment on a new layer which i had converted to black and white. I then changed the blending mode of that layer to luminosity. After that i just retouched out the street light, sharpened a bit and was done.
Thursday, April 10, 2008
multiple image parts
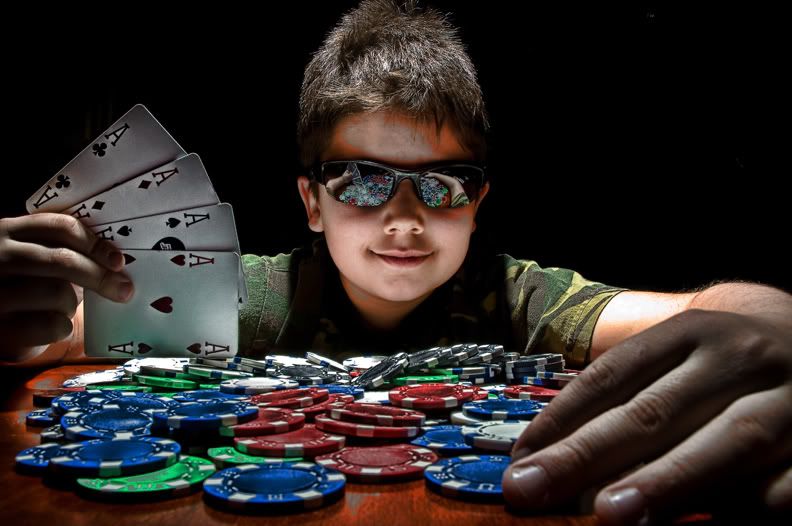
I was reworking this image tonight as i was given some ad space in a magazine and i needed to come up with an idea for it. I ended up not using this image but thought i could at least make a post out of it.
I ran the file through the lucis art plug in twice. Once set on exposure and the second time set on wyenth. I liked the cards and chips using wyenth and the skin and body on exposure. Now just needed to combine the two and use the parts that i liked from each. If you would consider using a selection of the chips and cards and then dragging it into the other photo, well you have way too much time on your hands. Take the easy way i always say. I opened both files in photoshop and while holding the shift key down i dragged one onto the other. I then created a layer mask on the top layer and painted in black over the parts that i wanted to hide on that layer so the bottom image could show through. I had the good card and chips on the top layer so i painted over my sons body and head. Always use a nice soft brush and it will blend together quite nicely.
I find i have been doing this sort of thing alot lately.
I have shot a fair amount of group photos and the people in the front row are too bright and the people in the back are too dark. If you do a layer for the proper brightness for both the front and back and then follow the steps above you will be able to match up brightness levels very easily. Today i in fact did this exact technique. I took it a step further though and opened my image as a smart object by holding down the shift key while i was in the camera raw plug in. This will change your "open" button to "open object". Once you have it open you then go to the layer menu - smart objects - new smart object via copy. This will copy your background layer as a smart object so you can double click on either of the layers and be able to adjust them in camera raw independant of each other. If you just drag the background to the new layer icon it will not work the same. When you alter one the other will change also. Using the new smart object via copy will give you some sweet flexibility.
Sunday, April 06, 2008
ice
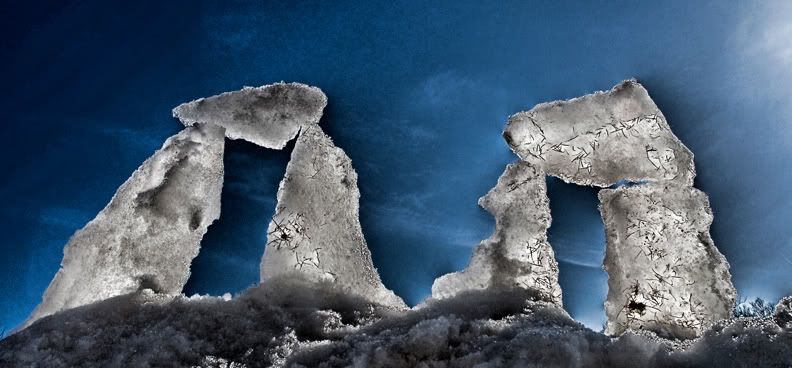
Just wanted to put a photo up since I haven't posted in so long. I have been quite busy with real work and have not had much time for play. This is a photo i took today of a little ice sculpture i was working on. We have had tons of snow and ice this year so i have been breaking it off the driveway in very large chunks and placing it ever so carefully atop some of the snow banks. Its amazing how fast it shrinks.
I ran this photo through lucis art plug in, sharpened a fair bit and then posted.
Oh, right, there was some flaring in the sky and i used the patch tool to remove it as it was fairly large. If you haven't tried the patch tool you should. It is housed under the healing tool and works the same. After you click on the patch tool to make it your active tool you just click on your mouse button and hold it down. Draw a selection around what you want to heal and then release the mouse button. Now click your mouse somewhere inside of this selection and drag it to the part of your image that you want to heal from and let go of the mouse. Thats all it takes. If you prefer to make a selection first using any of the selection tools (marquee, lasso, etc) thats fine too. After the selection is made just highlight the patch tool and drag the selected area to the good clean area of your image so the healing can begin.
Subscribe to:
Posts (Atom)