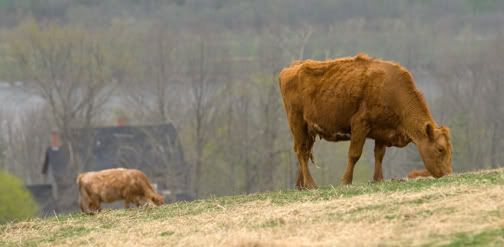
Just a couple cows in a field i saw while driving home from a recent shoot.
I wanted to go over the workflow for this image starting with taking the photo itself.
When i saw the scene i knew right away that it would be a panoramic. I also made the choice not to include any sky in the shot. It was an overcast day but i knew as well that i would be adding a bit of contrast later in photoshop. These decisions were step 1 in this images workflow.
Step 2 was downloading the raw image using nikon view 6 and then viewing it in adobe bridge. I have now been adding keywords and a description in bridge as i will archive them later. I then processed it in camera raw, mainly exposure, shadows, tint, temperature, and vibrance, and saturation.
Step 3 is opening the image in photoshop. I cropped the file first and then added a new adjustment layer, curves.
I adjusted the curve to make it look half decent and then sharpened the file 100% with smart sharpen (lens blur, more accurate). I used a combination of the healing tool and clone stamp to clean up any bright blades of grass and get rid of some cow pattys.
Step 4 was saving the file and i was done.
No comments:
Post a Comment