Friday, March 28, 2008
weird ideas
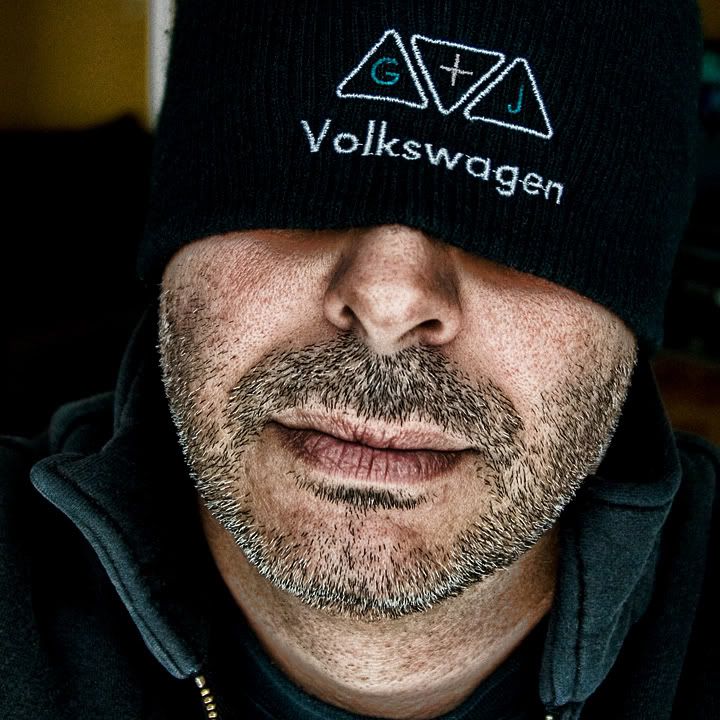
Its funny how sometimes you get these weird ideas that seem to fly into your head. Well hopefully you do and its not just that i am strange. I had not shaved this week and thought i would take a quick pic to put up on facebook. I try to do a few different self portraits for my profile and add them to go with what i am doing at the time. For this shot my plan was to get a close up of my face and have my eyes covered with my hat. Why I really dont know.
I stood looking out my back window and held the camera in my outstreched hands which ended up touching the glass in the window. Light was pretty good and shot was nice and crisp, but not crisp enough. I opened in photoshop and went straight to lucis art plug in. I chose the 4th button over from the left and moved the intensity slider to somewhere between the half and three quarter point. This brought out the detail to say the least. I retouched some of the unsightly blemishes off my mug and then sharpened the image a bit. I did a curve adjustment to get the tones where i wanted them and then cropped into a square. Some people have difficulty cropping to an exact size for some reason. To do this easily just choose the crop tool and enter the height, width, and dpi in the options bar at the top of the screen. No matter how big you draw the marquee for your crop it will always come out to be the size you entered. Just be carefull you dont make it bigger than your original was to begin with. I always check my image size first so i know i will be ok.
Wednesday, March 26, 2008
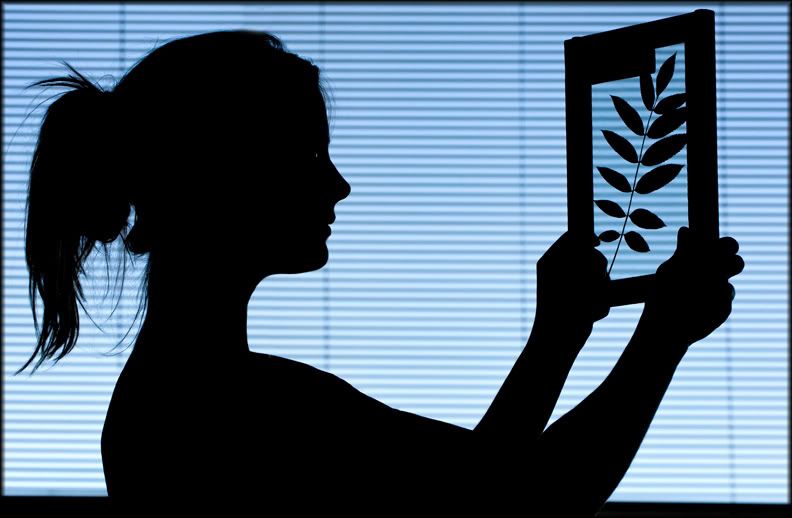
liquified leaf
This was a shot I took recently that i really liked. We were shooting with lights and the shots looked really good but the room had these massive windows with blinds in each one which looked great. Add on to this that we had a leaf display sandwiched inbetween glass and that pretty much screamed sillouette. The unedited version looked good but just needed a few tweaks in photoshop. I did a couple curves layers on it until i was happy with the darkness of the black and the lightness of the windows. I sharpened a fair bit (about 100) using smart sharpen and then did some liquify (filter - liquify) to smooth out her shirt. There were bumps along the arm and at the back of her neck where the shirt was buckled. I used the forward warp tool (top one in the toolbar) and just pushed down the bumps. After that i just retouched a black bar that ran up the windows from the top of her head to the ceiling and in front of her neck. I used the clone stamp tool for this job. Last but not least i painted in a bit more white in her eye just to create a catch light using the brush tool with the foreground color set to white.
That was it. Its always a treat to work on a photo that you like in the firstplace.
The only other thing i may do it to take out the vertical lines in the blinds. I would use the clone stamp for that task.
Thursday, March 20, 2008
night photo
I haven't posted in awhile as i have been away and on top of that I have been extremely busy.
Things are getting caught up however and i should be good for a massive onslaught of photoshop tips very soon.
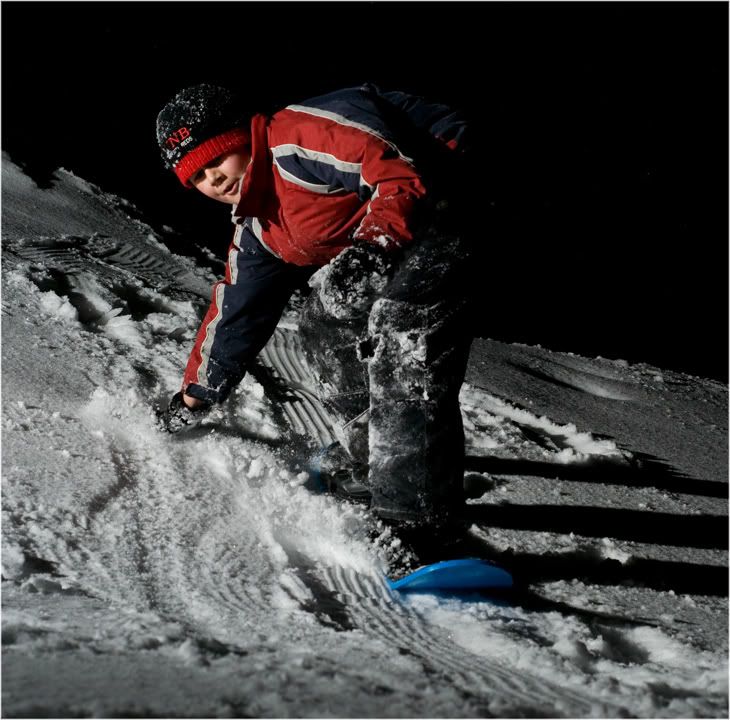
I have one in mind on how to use the liquify tool on eyes, which i have done to my last two portraits, just to pop them open a bit. I just took the photo of my son you see above about 10 minutes ago. We were playing outside and of course i ran in to get my camera, a 50mm lens, a nikon sb flash, two pocket wizards, and a light stand. I put the light to the left, and zoomed the flash head in to about 50mm just so the snow would not blast out.
Saturday, March 15, 2008
rockin in black and white
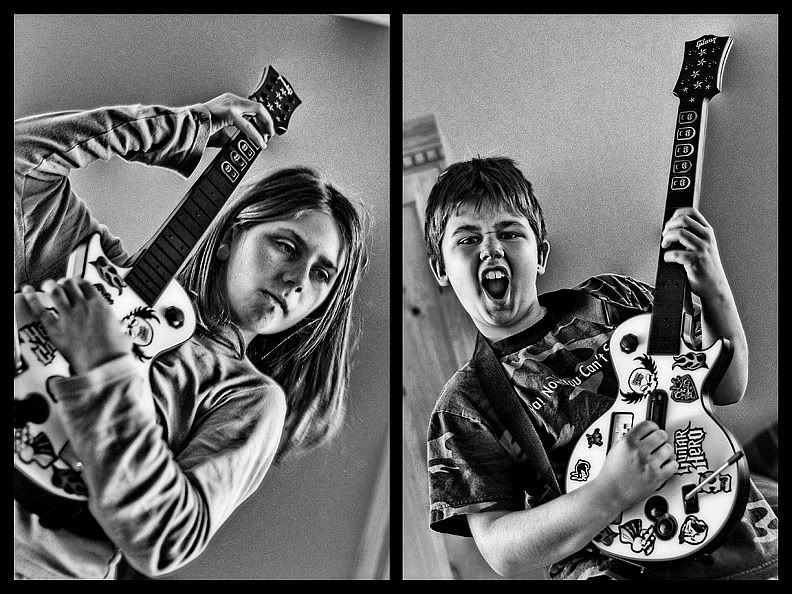
I stood in line this moring, early, for 45 minutes to get one of 10 guitar heros for the wii. I swore to never stand in line to spend money ever, but it was actually a rush. On the way in i actually hip checked a 10 year old boy who tried to butt in front of me, kidding of course, it was all a very civilized process.
I took a couple photos with the d300 at about 800asa and a 50mm 1.8 lens (which seems to grind very noisly now when i focus) using only available light. I put the images together, flipped the one of my daughter horizontally first, and then ran the image through lucis art plug in. I then converted to black and white by hitting desaturate (not the best way to convert remember). I then duplicated the background layer and applied a gaussian blur to it at about 4 (i made it a smaller file which is why the blur setting is low). I changed that blurry layers blend mode to multiply and lowered the opacity of the layer to around 40%. I sharpened with smart sharpen a fair bit and that was it.
Tuesday, March 11, 2008
last lucis
Monday, March 10, 2008
lucis art2
Sunday, March 09, 2008
lucis art plug in
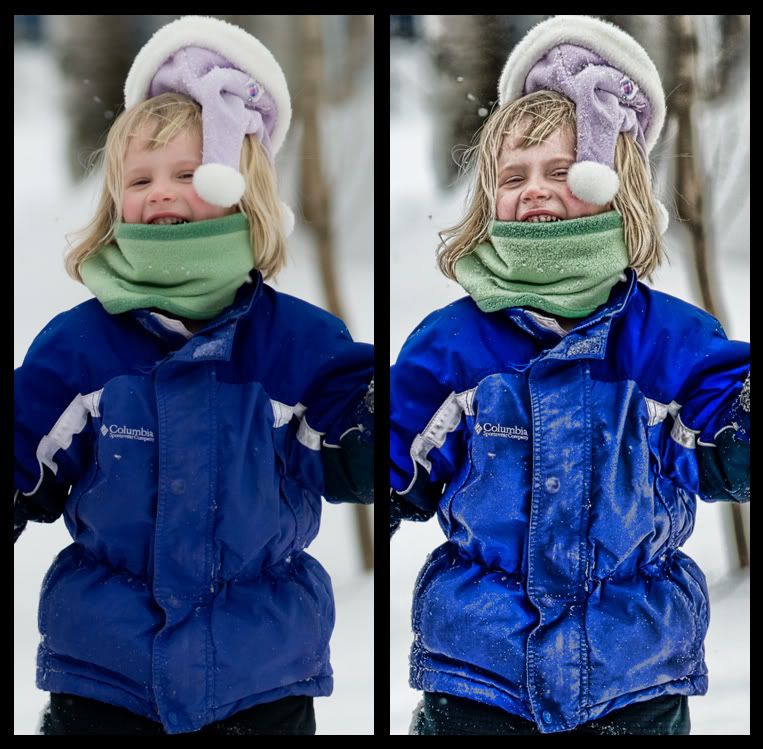
Scott Kelby posted a blog recently where he talked about the "dave hill look" and showed how to get close by both using the camera raw plug in and another method using the lucis art plug in. I thought i would give lucis art a whirl and it is really cool to play with. You can download the demo at www.lucisart.com
I used the whyenth effect which enhances detail in your image by manipulating pixel contrasts. Looks like an hdr thing to me.
The above photo shows before and after.
Most people say that you must have the right lighting for this effect to really work. Contrasty light is the requirement so they say. The above example was shot outside under a very overcast sky, certainly not high in contrast. I think the effect worked very well on this image.
I will post more images over the next couple days.
Subscribe to:
Posts (Atom)